
If you are planning a home golf simulator, the decisions you make before anything is ordered matter more than most people expect. Get the room right, choose equipment that fits the space, and plan the setup properly and the room will deliver real value for years. Rush those decisions and you will find yourself working around problems that could have been avoided entirely.
These are our top tips for golf simulators, drawn from completing installations across the UK in garages, log cabins, bespoke garden rooms, and everything in between. Every point here comes from real experience on real projects, not from a product brochure.
1. Measure the Ceiling Before You Do Anything Else
This is the tip that would have saved the most frustration across the projects we have seen go wrong. Ceiling height is the measurement that determines whether a full swing is actually possible in your space, and it is the one people check last rather than first.
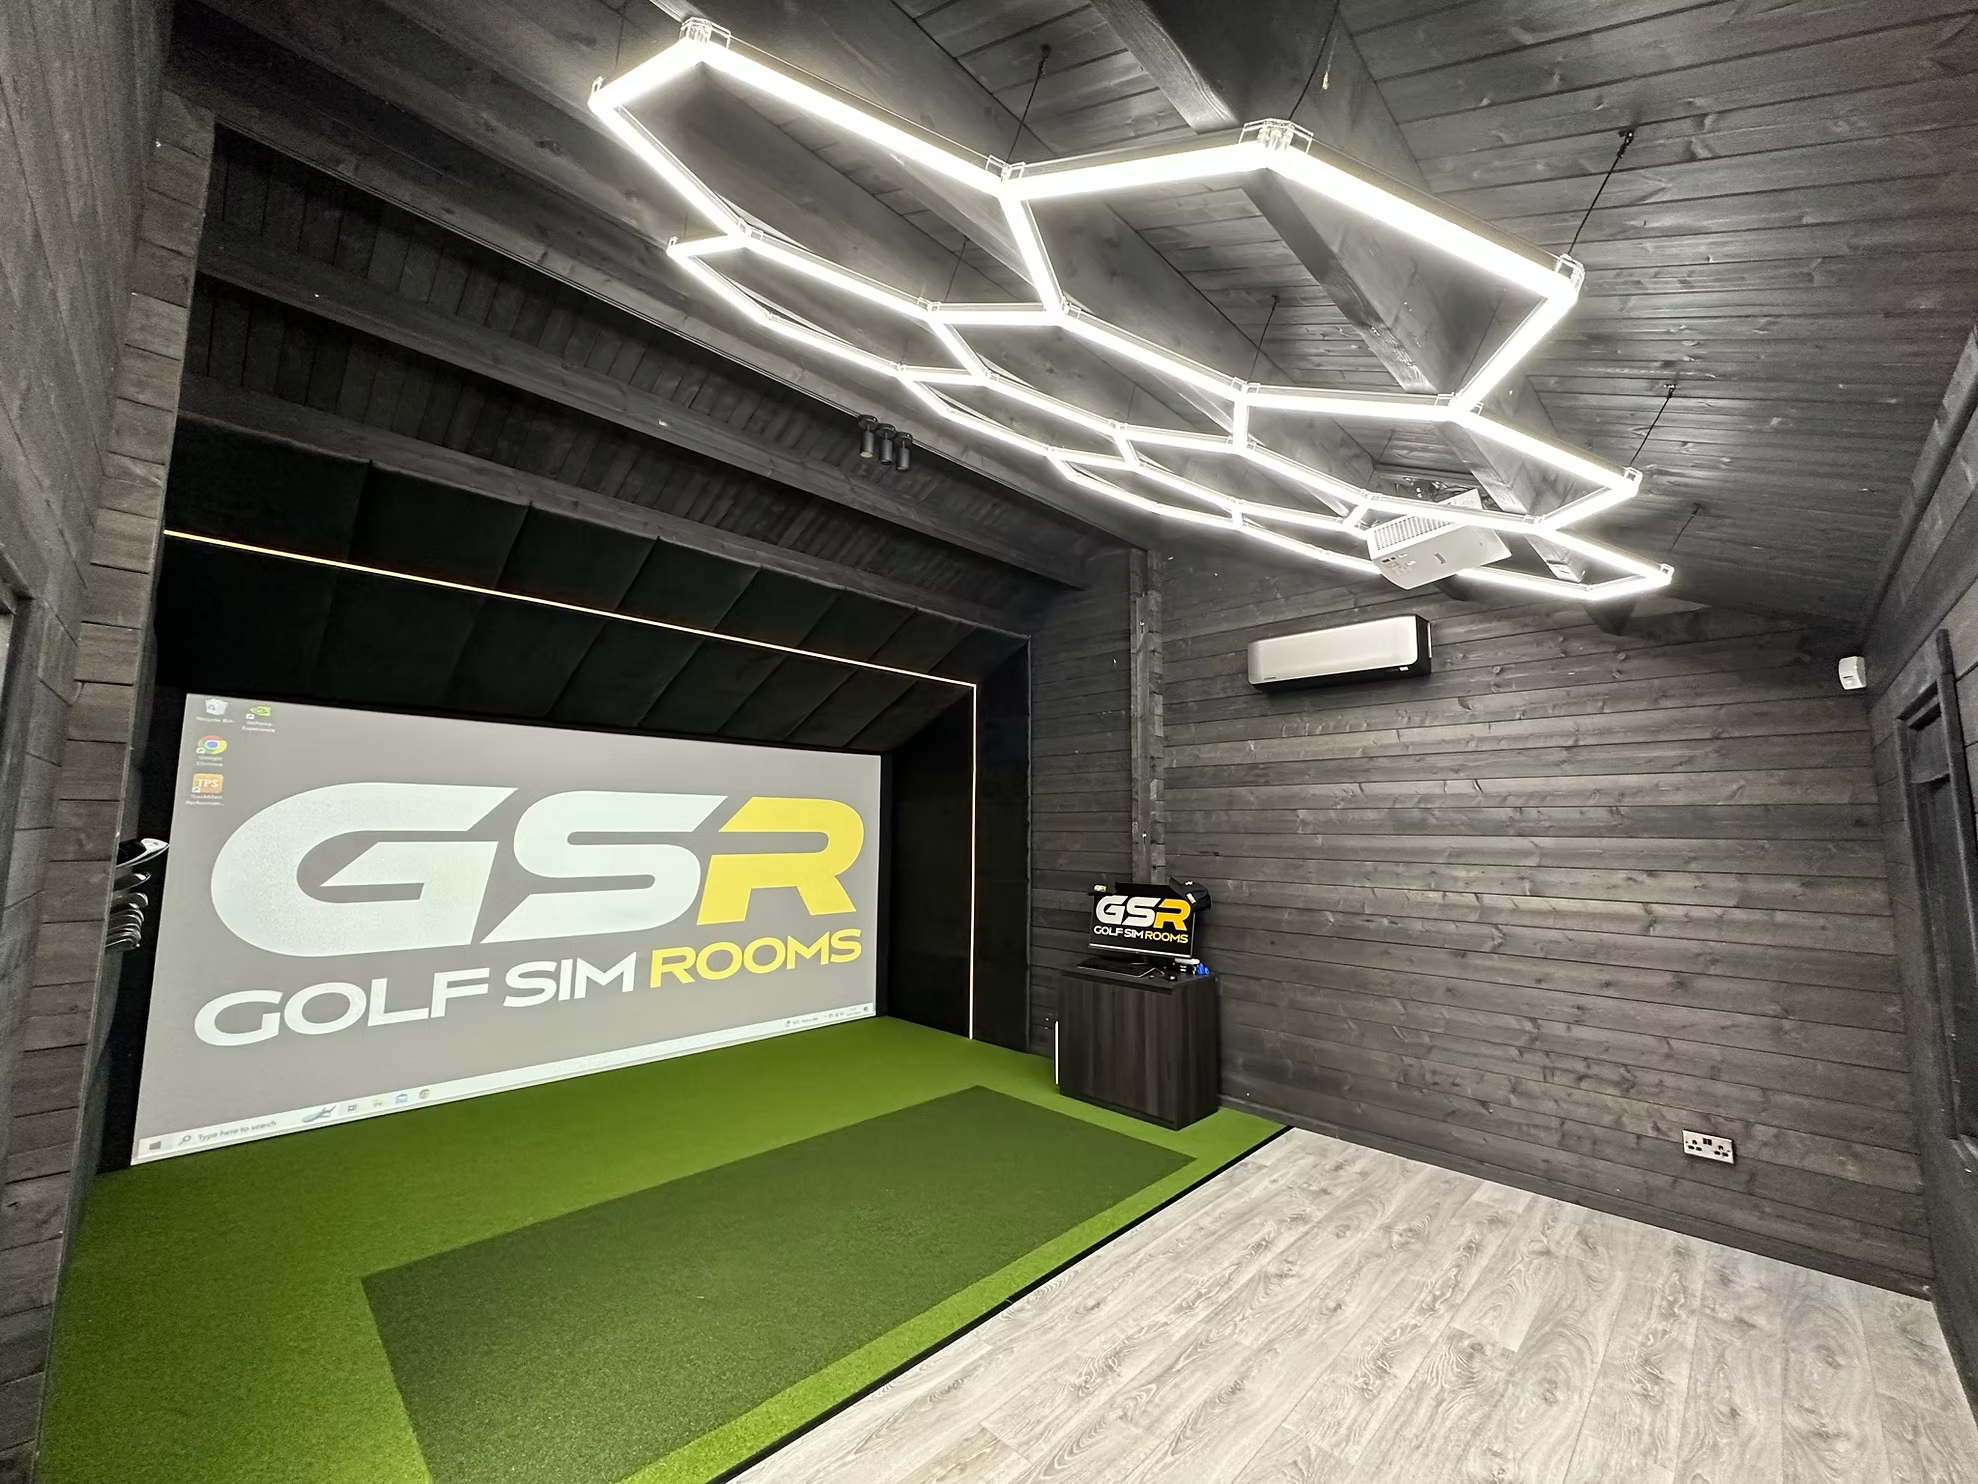
The minimum we work to is 2.7 metres of clear height at the hitting position. Not at the centre of the room, not near the wall at the exact point where you will be standing to swing. Three metres is more comfortable. At 3.6 metres, which we have seen in projects like our Leatherhead installation (7m x 5.4m x 3.6m) and Weybridge (5.5m x 5.5m x 3.6m), the room feels genuinely open with every club.
Standard UK new build ceiling heights sit at around 2.4 metres. That is not enough. If your space is below 2.7 metres, deal with that before you look at a single piece of equipment.
2. Plan the Room Before You Buy the Equipment
We’ve found that the clients who end up happiest with their setups are those who started with the room and worked outwards, not those who bought a launch monitor and then tried to find somewhere to put it.
The room determines which launch monitor will work, how the screen needs to be positioned, where the projector should be mounted, and how the whole system fits together. A camera-based launch monitor like SkyTrak or Uneekon needs to sit behind the ball. A radar-based system like a Foresight GC3 sits to the side. Those two placements have different depth and width implications for the room.
Get the space assessed first. Then choose the equipment.
3. Do Not Underestimate Room Depth
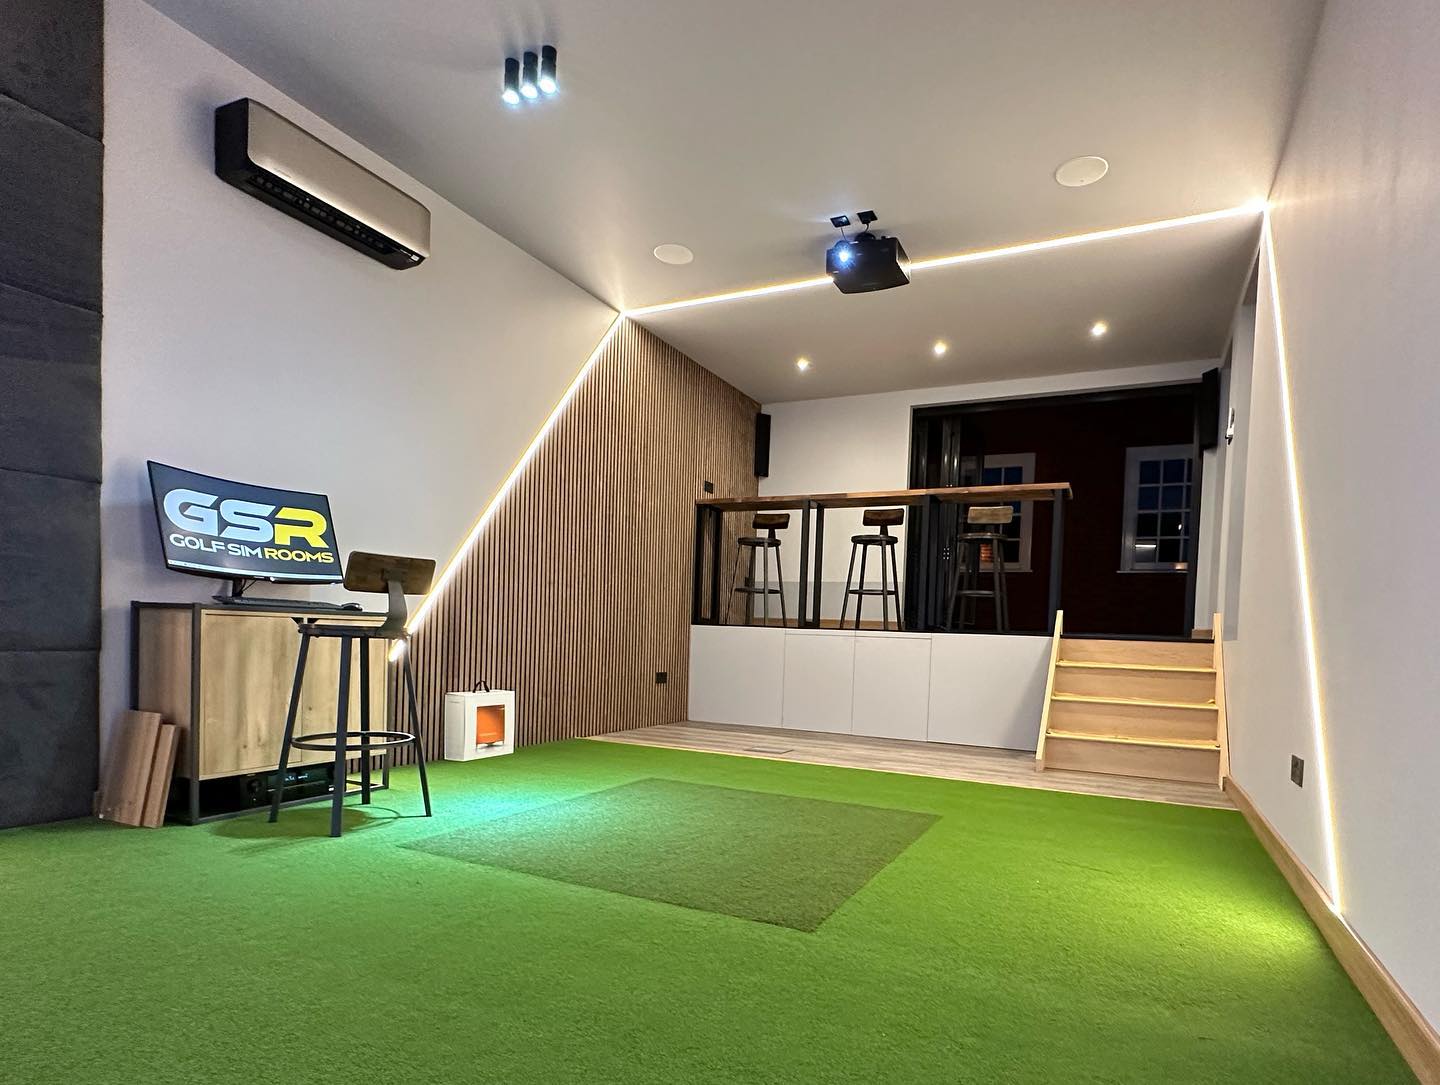
Width and height get most of the attention, but depth is what makes a simulator room feel comfortable to actually use day to day.
You want at least 4.5 metres from the screen to the back wall. Five metres is better. The Cobham project we completed ran to 7.5 metres in length, which gives you a genuinely relaxed setup with plenty of room behind the hitting position. That extra space behind the ball makes a real difference to how freely you swing, particularly with longer clubs.
Remember that the screen frame takes up 30 to 50 centimetres at the front of the room before you have even placed the mat. Factor that in when you measure.
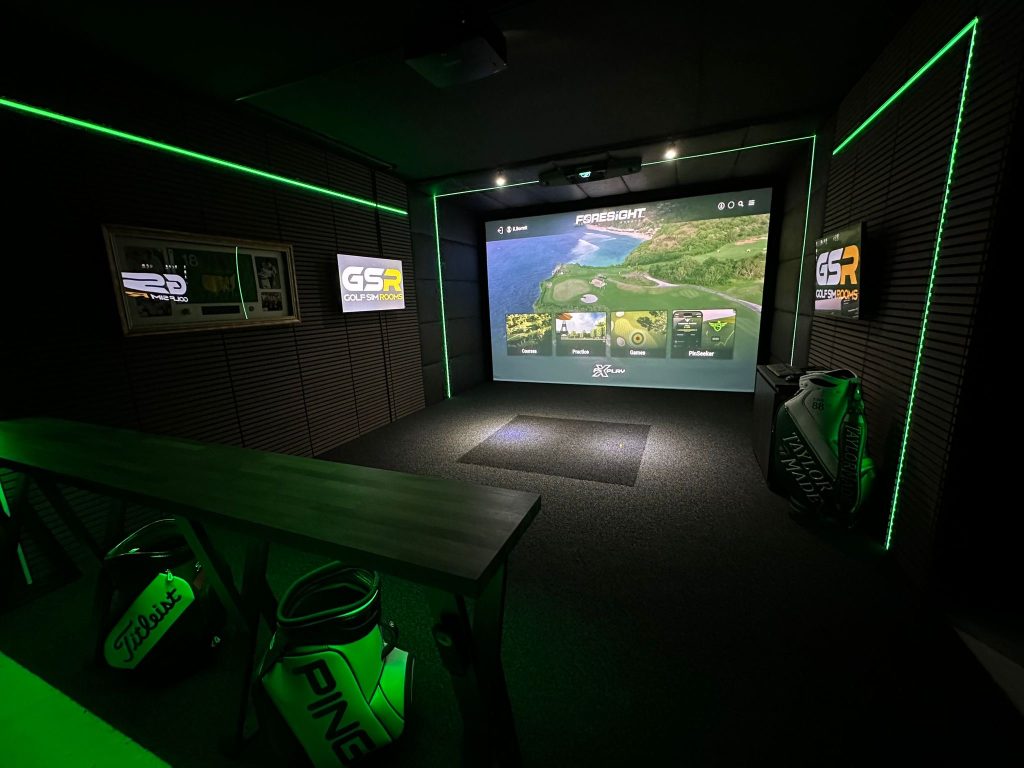
4. Take Lighting Seriously From the Start
Lighting is the most commonly overlooked part of a simulator room, and it is the one that causes the most frustration once the room is finished.
Bright overhead lights pointing toward the screen wash out the projected image. The room looks worse, the experience suffers, and the fix after the fact involves rewiring or adding new fittings to a room that is already set up.
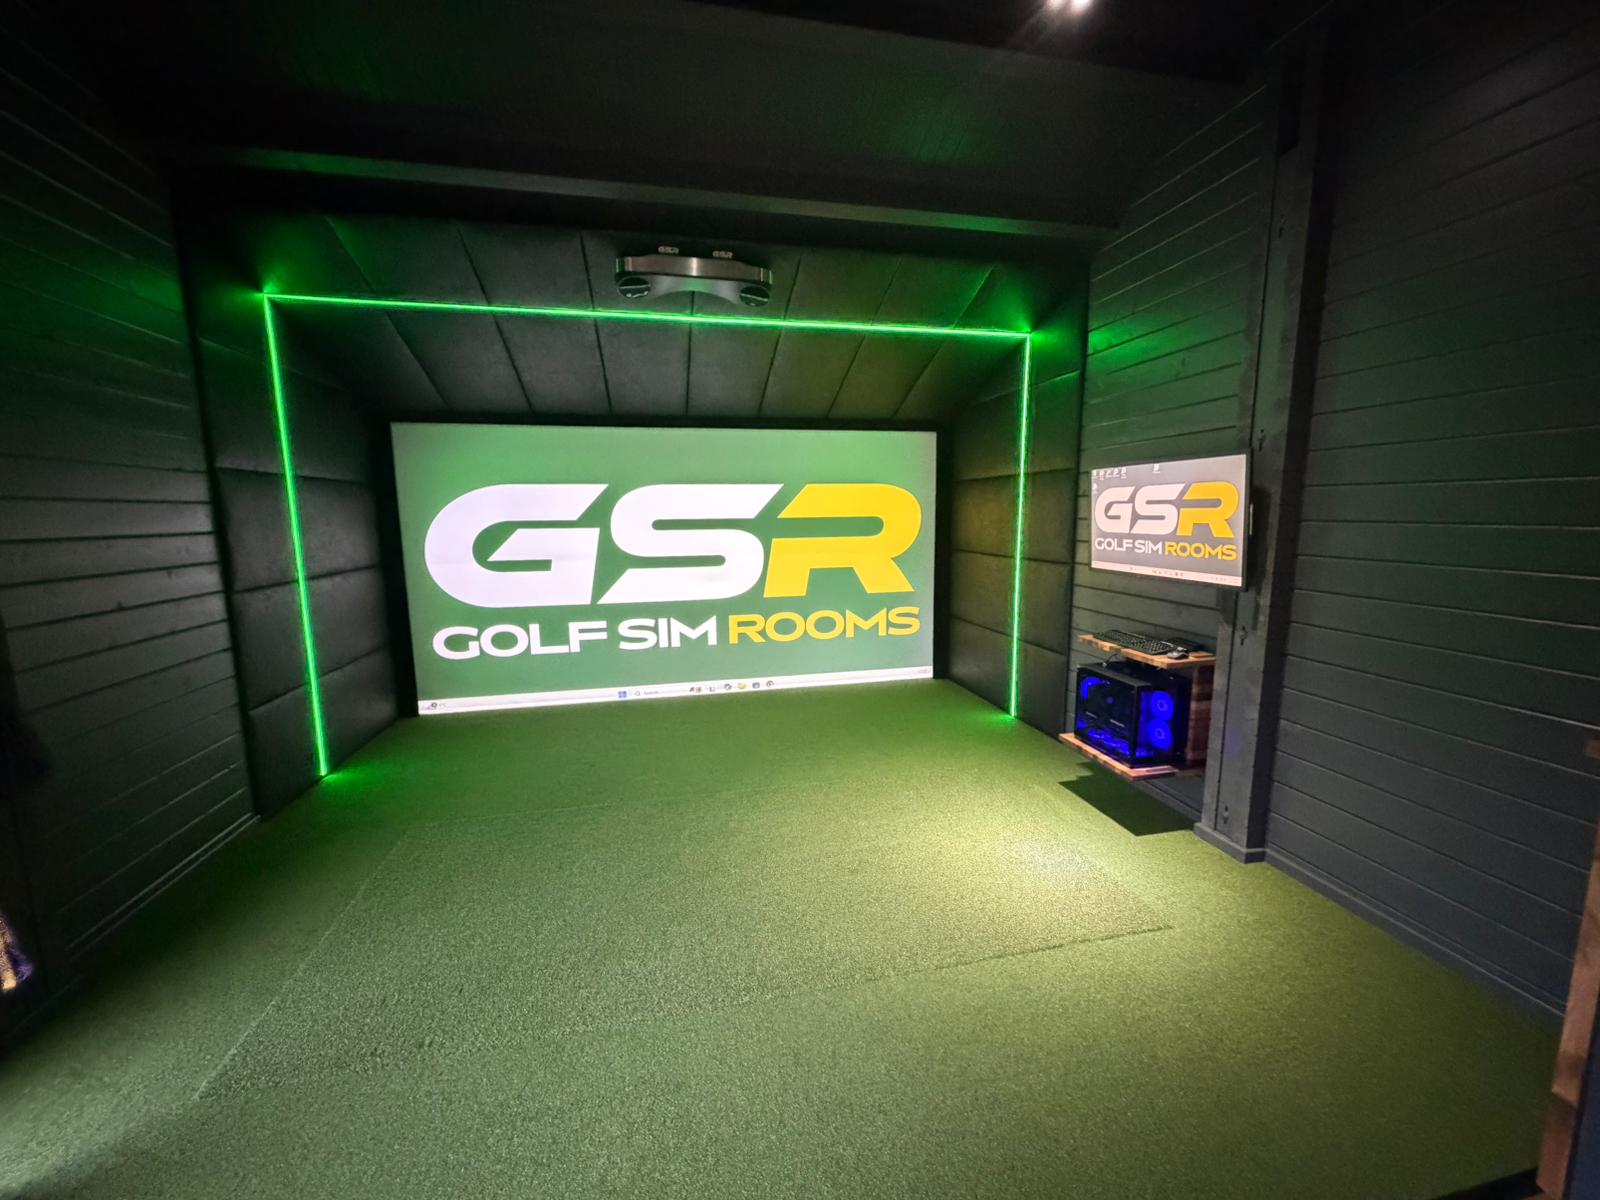
In our experience, lighting from behind the golfer works better than overhead lighting above the screen, because it illuminates the hitting area without creating glare on the projection surface. Dimmable LED strips positioned at the back of the room give you control over the brightness depending on conditions. Plan this before installation day, not after.
5. Heat the Room Properly or You Will Not Use It
A simulator room that is cold in October sits unused from October to March. That is five months of a setup you paid good money for sitting dormant.
We’ve found that infrared panel heaters work better than standard convection heaters in simulator rooms because they heat the space quickly without creating airflow that can interfere with launch monitor readings. A convection heater that circulates warm air across the hitting zone can introduce shot-to-shot inconsistency with some camera-based systems.
Wall mount the heater behind the golfer, away from the screen end of the room, and put it on a timer so the room is warm before you walk in.
6. Match the Launch Monitor to the Room, Not to the Marketing
There are excellent launch monitors at a range of price points. The right one for your setup depends on your room dimensions, your budget, and how you intend to use the data.
Camera-based systems work better than radar-based systems in smaller rooms because they do not require lateral space for accurate ball tracking. In a tight garage setup, that distinction matters practically. Radar-based systems tend to perform better in larger, more open spaces where the measurement geometry works in their favour.
We see clients regularly who have bought a launch monitor based on a review they read online, without checking whether it suits their room layout. That is a fixable problem but an avoidable one.
7. Choose Software You Will Actually Use
The simulator software is what you interact with every time you step into the room. It is worth spending time on this decision rather than defaulting to whatever comes bundled with the hardware.
Think about how you intend to use the room. If you want to play full course rounds, look for software with a strong course library and realistic playing conditions. If you want to practise specific parts of your game, look for software with strong practice modes, driving range environments, and detailed shot analysis.
Some software packages run on an annual subscription. Others are a one-off purchase. Some launch monitors are locked to a single software platform. Know what you are buying into before you commit.
8. Get the Mat Right
The hitting mat is the most physical part of the setup. It takes the impact of every shot and it affects both how the room feels underfoot and how accurately the launch monitor reads the ball.
A thin, hard mat gives jarring feedback through the shaft on every strike. Over time, that is uncomfortable and it can encourage compensations in your swing. A quality mat with enough give replicates the feel of hitting from turf closely enough that it does not interfere with your natural movement.
We’ve seen clients spend significant money on launch monitors and then buy a cheap mat to save a few hundred pounds. The mat is not where you cut corners.
9. Think About Cable Management Before Installation Day
A finished simulator room with cables running across the floor or hanging from the ceiling is not a finished room. It is a trip hazard and an indication that the installation was not completed properly.
Cable management is something to think about at the planning stage, not as an afterthought. Decide where the power sockets need to be, where the HDMI and USB runs will go, and whether any cables can be routed through the walls or ceiling before the room is lined out. Doing this properly at the start saves significant disruption later.

10. Ask What Aftercare Looks Like Before You Book
Technology develops faults. Projectors need recalibrating. Software updates occasionally introduce issues. What matters is how quickly and reliably your installer responds when something needs sorting after the installation is complete.
From working with our own clients, we know that aftercare is one of the things people value most once the room is running. Our Stockton-on-Tees client sent a message on a Saturday evening and had a callback within five minutes. That is the standard we hold ourselves to. Not every installer operates the same way, and it is worth finding out before you commit rather than after.
Our post on what to ask before you book a golf simulator installation covers this and every other question worth raising before a deposit changes hands.
11. Use the Room With Intention
This is the tip that makes the biggest difference to whether a home simulator actually improves your game, and it is the one that gets mentioned least.
A room full of accurate shot data is only useful if you do something with it. Hitting balls at a screen without a specific focus produces the same results as hitting balls on a range without a specific focus. The data gives you the ability to be intentional about what you are working on. Use it.
The clients we see making the most measurable progress are those who go into the room with a purpose. They work on one thing, track whether it is changing, and move on when it does. That approach, combined with year-round access and accurate feedback, is what a home simulator actually offers over occasional range sessions.
Tips Conclusion
The top tips for golf simulators that make the most practical difference are almost always about planning rather than equipment. Get the ceiling height right, plan the room before buying anything, heat it properly, and choose an installer who will be there when you need them after the installation is done.
If you want to talk through your space and get an honest view on what setup would work for your home and your budget, Golf Simulator Rooms covers log cabin builds, garage fit outs, and bespoke garden room installations across the UK. Get in touch and we will start with a proper conversation about your space.