

Glare in a golf simulator room comes down to one thing: light hitting the screen that should not be. We get rid of it by controlling where the light comes from, what the walls and ceiling do with it, and how the projector and screen are matched to the space. Get those three right and the image stays sharp and bright with no washout.
The single most common mistake is bright overhead lighting pointed toward the screen. It is also the easiest to design out before a room is built, and the most annoying to fix afterwards. This covers how we handle glare properly, so the image looks the way it should from the first session.
Why Glare Ruins a Simulator Room
Before the fixes, it helps to understand what glare actually does, because it is more than a cosmetic issue.
A projector creates an image by throwing light onto a screen. That image relies on contrast, the difference between the bright and dark parts of the picture. When stray light lands on the screen, it lifts the dark areas, flattens the contrast, and washes the whole image out. Colours go pale, detail disappears, and the immersive quality that makes a simulator enjoyable drains away.
The effect is worst in the darker parts of a course, tree lines, shadows, and evening rounds, exactly where a crisp image matters most for judging the shot.
We’ve found that glare is the difference between a room that feels like a commercial golf centre and one that feels like a projector in a bright garage. It is that significant, and clients notice it immediately even if they cannot name what is wrong.
The Biggest Culprit, Overhead Lighting
Standard rooms are lit from the ceiling, with lights spread evenly across the space. That is exactly wrong for a simulator.
Overhead lights near the screen throw light directly onto it, causing the worst of the washout. The fix is to change where the light comes from rather than just dimming what is there.
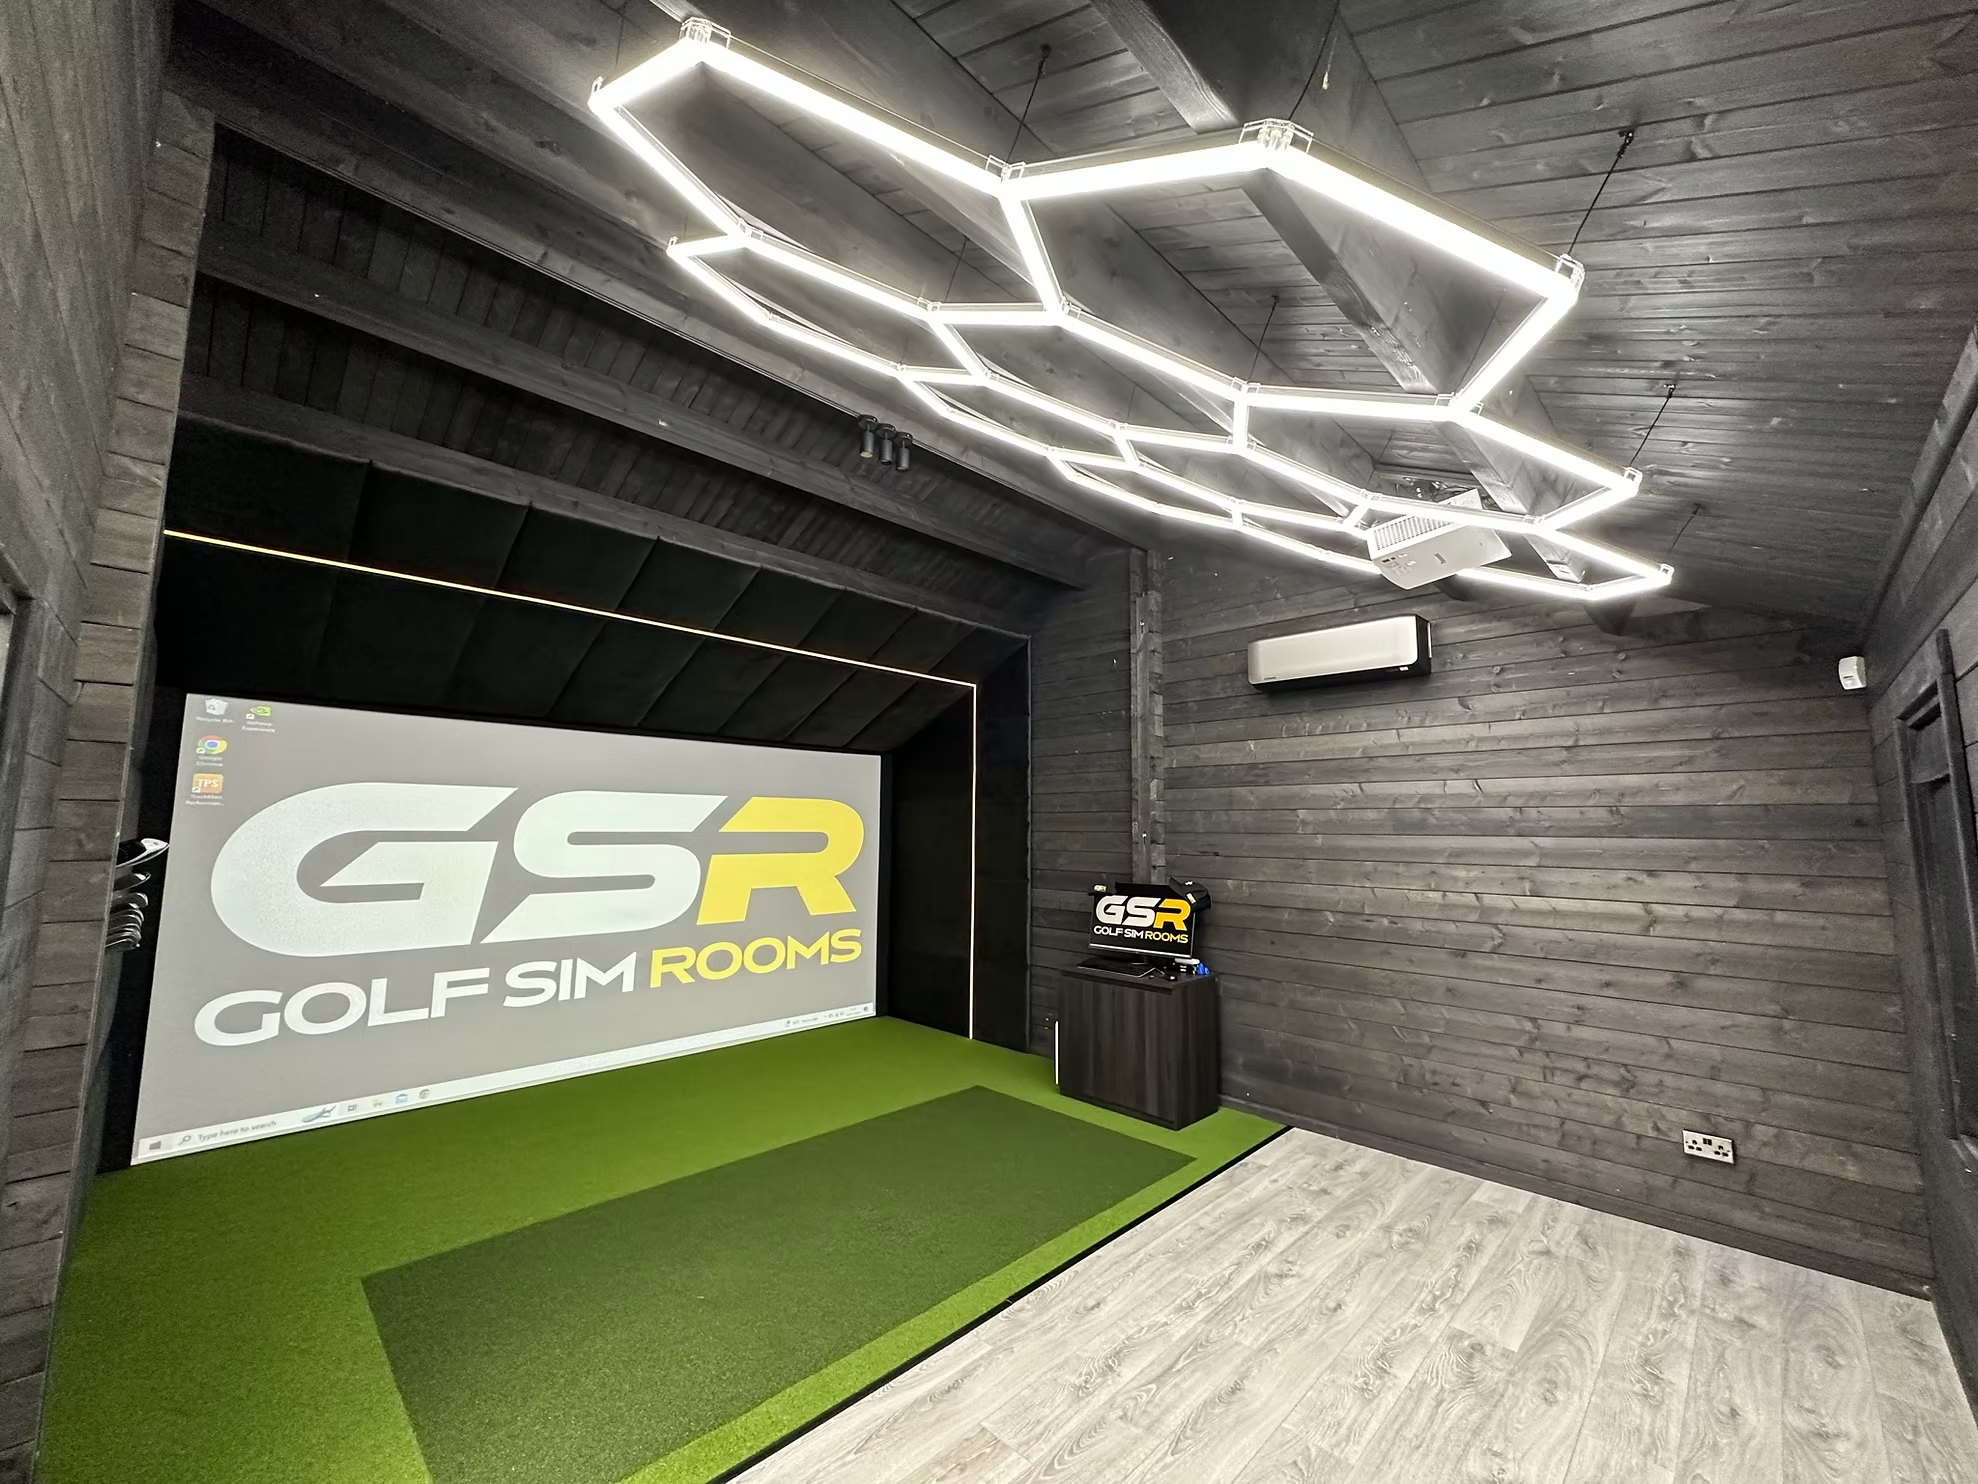
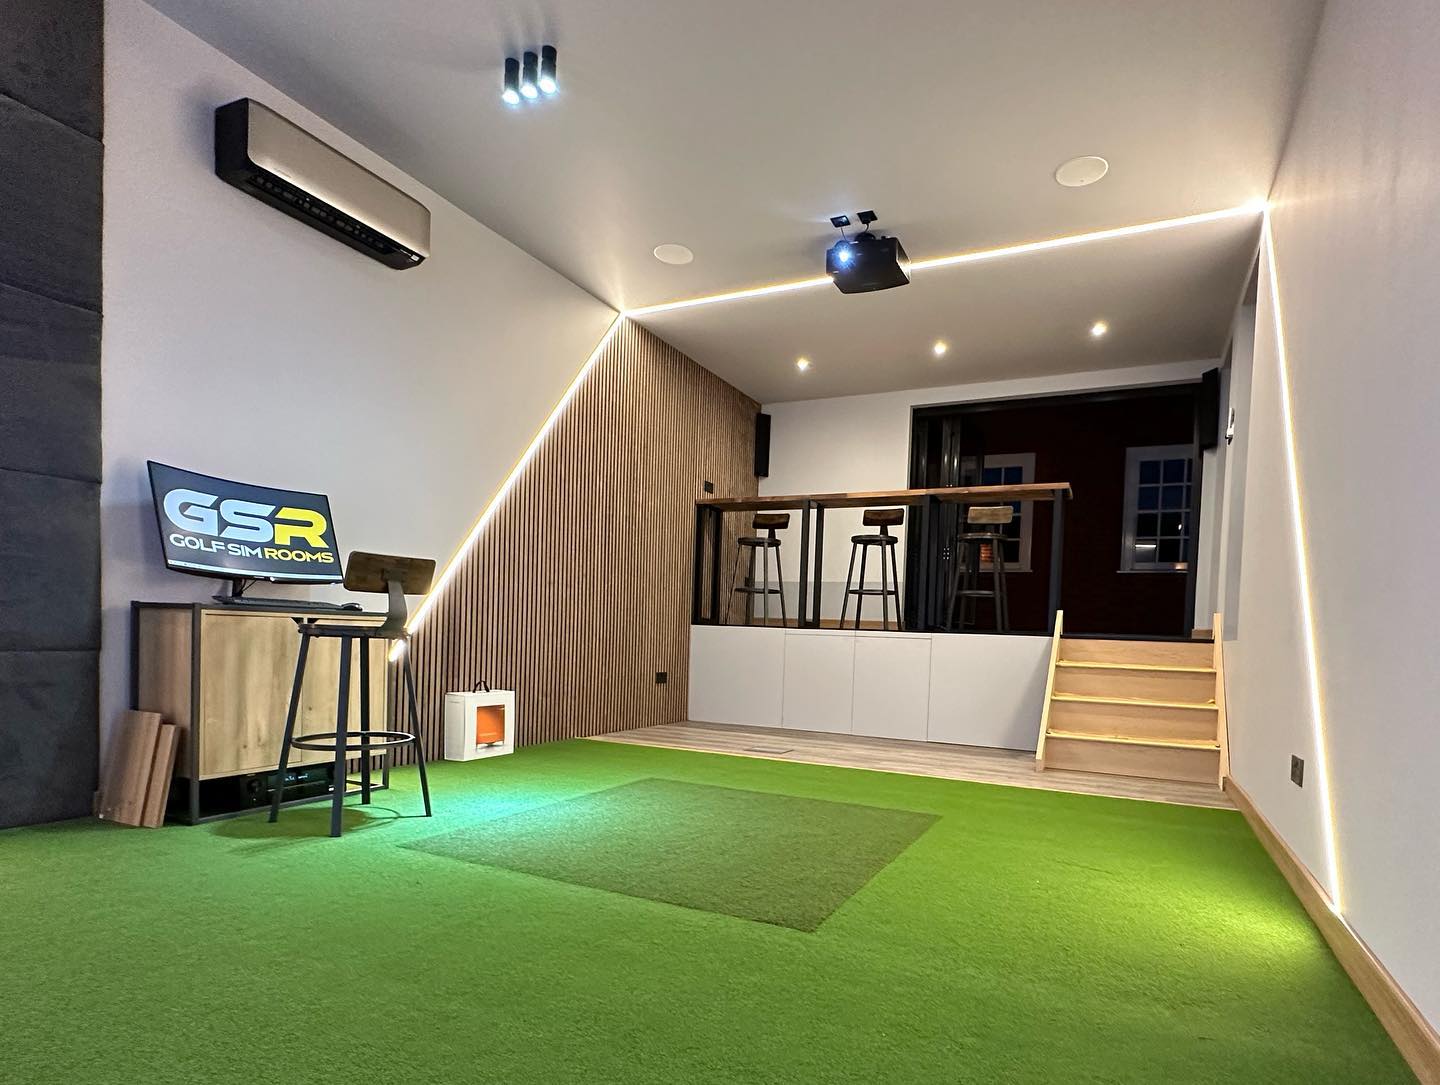
In our experience, lighting from behind the golfer works better than overhead lighting above the screen, because it illuminates the hitting area and the room without any light reaching the projection surface. We position the light sources at the back of the room, behind the swing, so the screen end stays in controlled shadow while the golfer has plenty of light to play by.
Dimmable LED strips or spots at the rear give you control over brightness depending on the time of day and the type of session. That control matters. A bright practice session and an immersive evening round want different light levels, and a dimmer lets you switch between them.
Wall and Ceiling Colour Does More Than People Think
Light does not just come straight from a fitting. It bounces. A white wall or ceiling near the screen acts like a giant reflector, throwing ambient light back onto the projection surface even when the fittings are positioned correctly.
This is why we treat wall and ceiling colour as part of the glare solution, not just aesthetics.
Darker finishes near the screen absorb stray light rather than bouncing it back. Charcoal, dark grey, and deep green are common choices for the screen wall and the surrounding surfaces. The darker the surfaces around the screen, the higher the perceived contrast and the richer the image.
We’ve found that a matte finish works better than a satin or gloss one, because gloss reflects light where matte absorbs it. The paint sheen is a small detail that makes a visible difference to the final image.
Matching the Screen and Projector to the Room
Glare control is not only about the room. The screen and projector themselves play a part.
Impact screen material has a gain rating, which affects how it reflects light back to the viewer. The right screen for a room depends on the projector brightness and the ambient light conditions. We match these rather than fitting a standard screen and hoping.
Projector brightness matters too. A brighter projector holds a stronger image against any residual ambient light. But brightness has to be balanced, because an overly bright image in a well-controlled dark room can look harsh. The goal is the right brightness for the specific space, not simply the brightest projector available.
Projector placement is the final piece. Correct positioning and calibration ensure the image lands cleanly on the screen without spill onto surrounding surfaces, which itself can create reflected glare. For a full picture of how these components come together, what comes with a golf simulator installation sets out the whole setup.
Controlling Natural Light
Windows are a glare source that is easy to overlook at the planning stage and impossible to ignore once the sun is out.
Any window that lets daylight fall on or near the screen will cause glare, and daylight is far brighter and harder to control than any fitting. In a purpose-built log cabin or garden room, we plan window placement carefully so natural light does not compromise the screen. Windows go behind or to the side of the golfer, never facing the projection surface.
In a garage or room conversion with existing windows, the fix is blackout blinds or shutters that let you shut daylight out completely for a session. It sounds obvious, but the number of setups undone by a single badly placed window is significant.
This is one reason a purpose-built room has an edge. In our experience, designing window placement from scratch works better than retrofitting blackout solutions, because you avoid the problem entirely rather than covering it up. What is the best type of golf simulator room covers how room type affects decisions like this.
How We Design Glare Out From the Start
Because we build the room and fit the technology together, glare control is part of the design rather than a problem discovered at the end.
At the survey and design stage, we plan the lighting layout, the wall and ceiling finishes, the window placement, and the screen and projector match as one connected system. The light goes behind the golfer. The surfaces near the screen absorb rather than reflect. The natural light is designed out. The screen and projector suit the room.
That integrated approach is why our finished rooms hold a clean, sharp image. It is not one trick. It is several decisions made together, each supporting the others.
Conclusion
Glare in a golf simulator room is entirely avoidable. It comes from light reaching the screen that should not, and the fix is controlling where light comes from, what the surrounding surfaces do with it, and how the screen and projector are matched to the space. Lighting from behind the golfer, darker matte finishes near the screen, careful window placement, and the right screen and projector together produce an image that stays crisp in any conditions.
The best results come from designing all of this in from the start rather than fixing it afterwards. Golf Simulator Rooms plans glare control into every build across the UK. If you want a room with an image that looks the way it should, get in touch and we will start with a proper look at your space.