
One of the most common points of confusion when people start researching golf simulators is understanding what a full installation actually includes. The headline price looks one way. The reality of what arrives and gets fitted can look quite different.
This matters because a golf simulator installation is not just a product delivery. It is a combination of equipment, fitting, calibration, and setup that needs to work together correctly for the room to function as intended. Understanding what should be included and what sometimes is not saves you from expensive surprises after the fact.
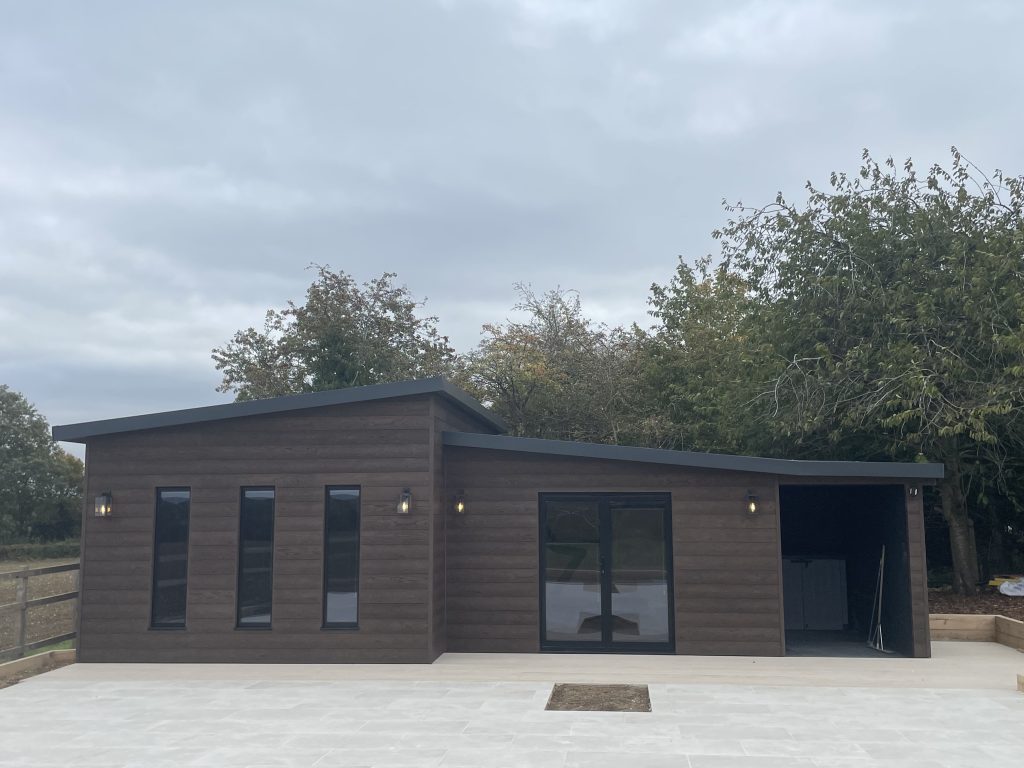
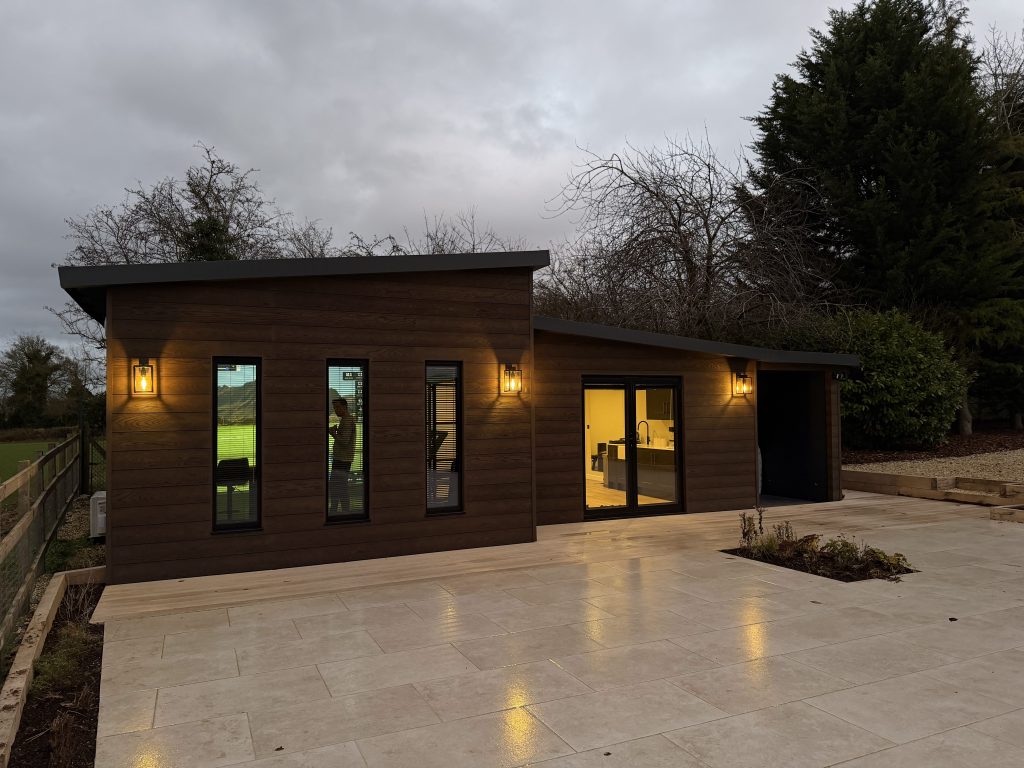
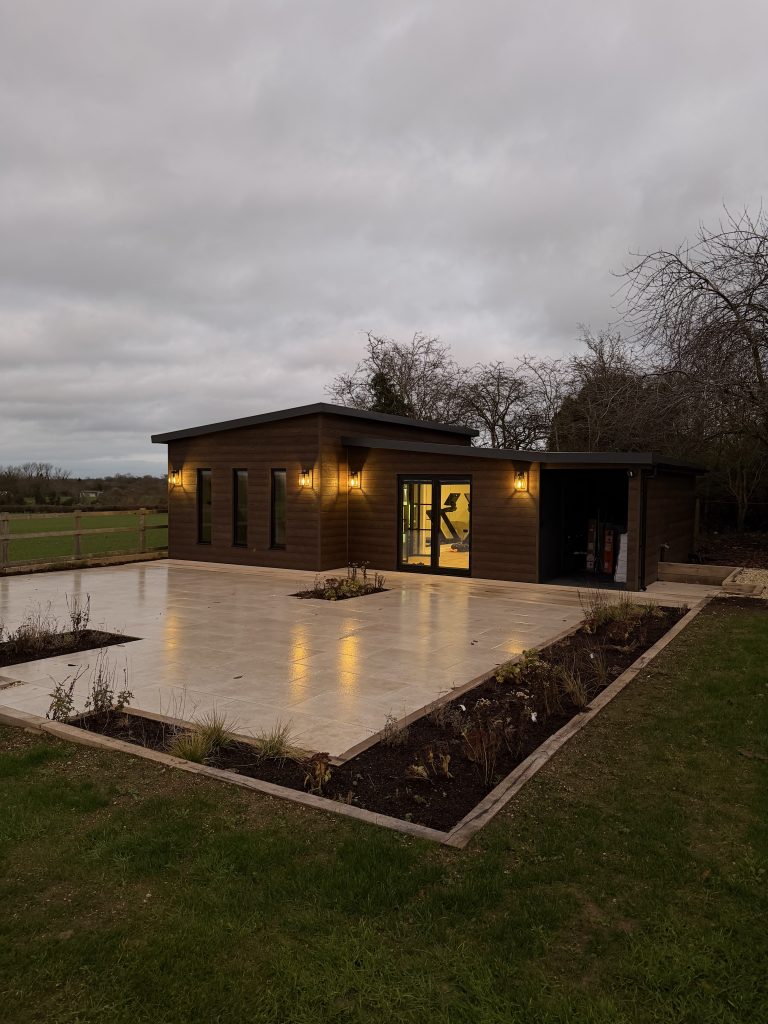
Below we will break down what to expect, do note that this is from our experience of doing hundreds of installations over the last few years. One of our projects on this page showcases exactly what we done, and has real feedback from the customer – Essex Bespoke Installation.
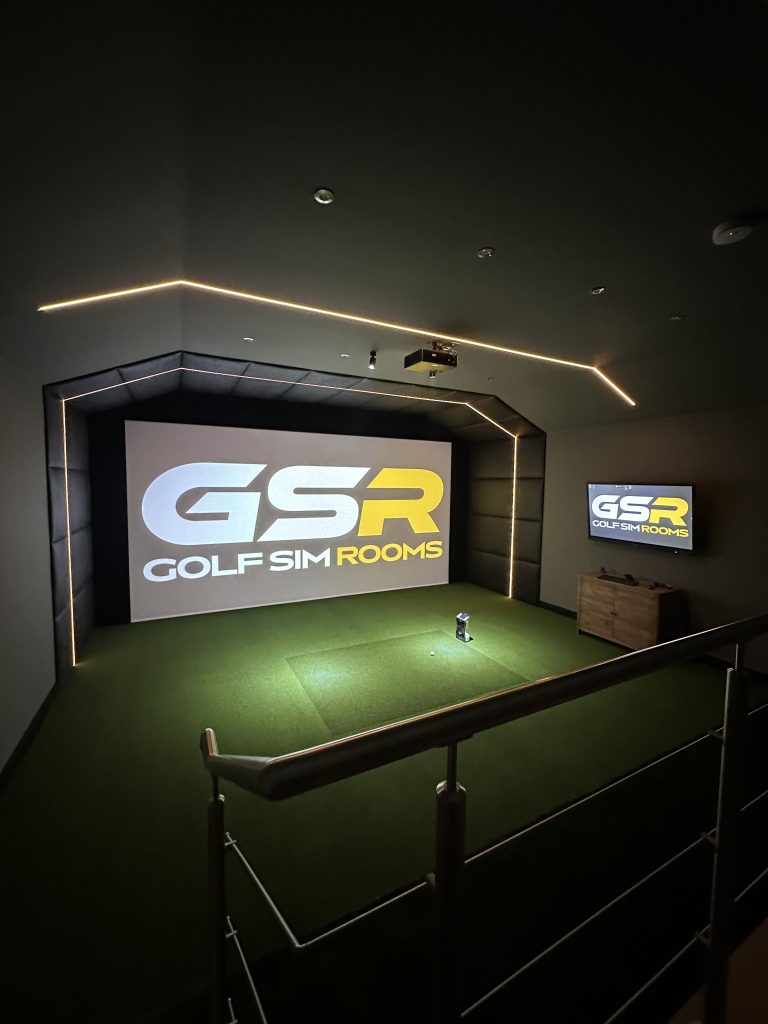
The Impact Screen and Frame
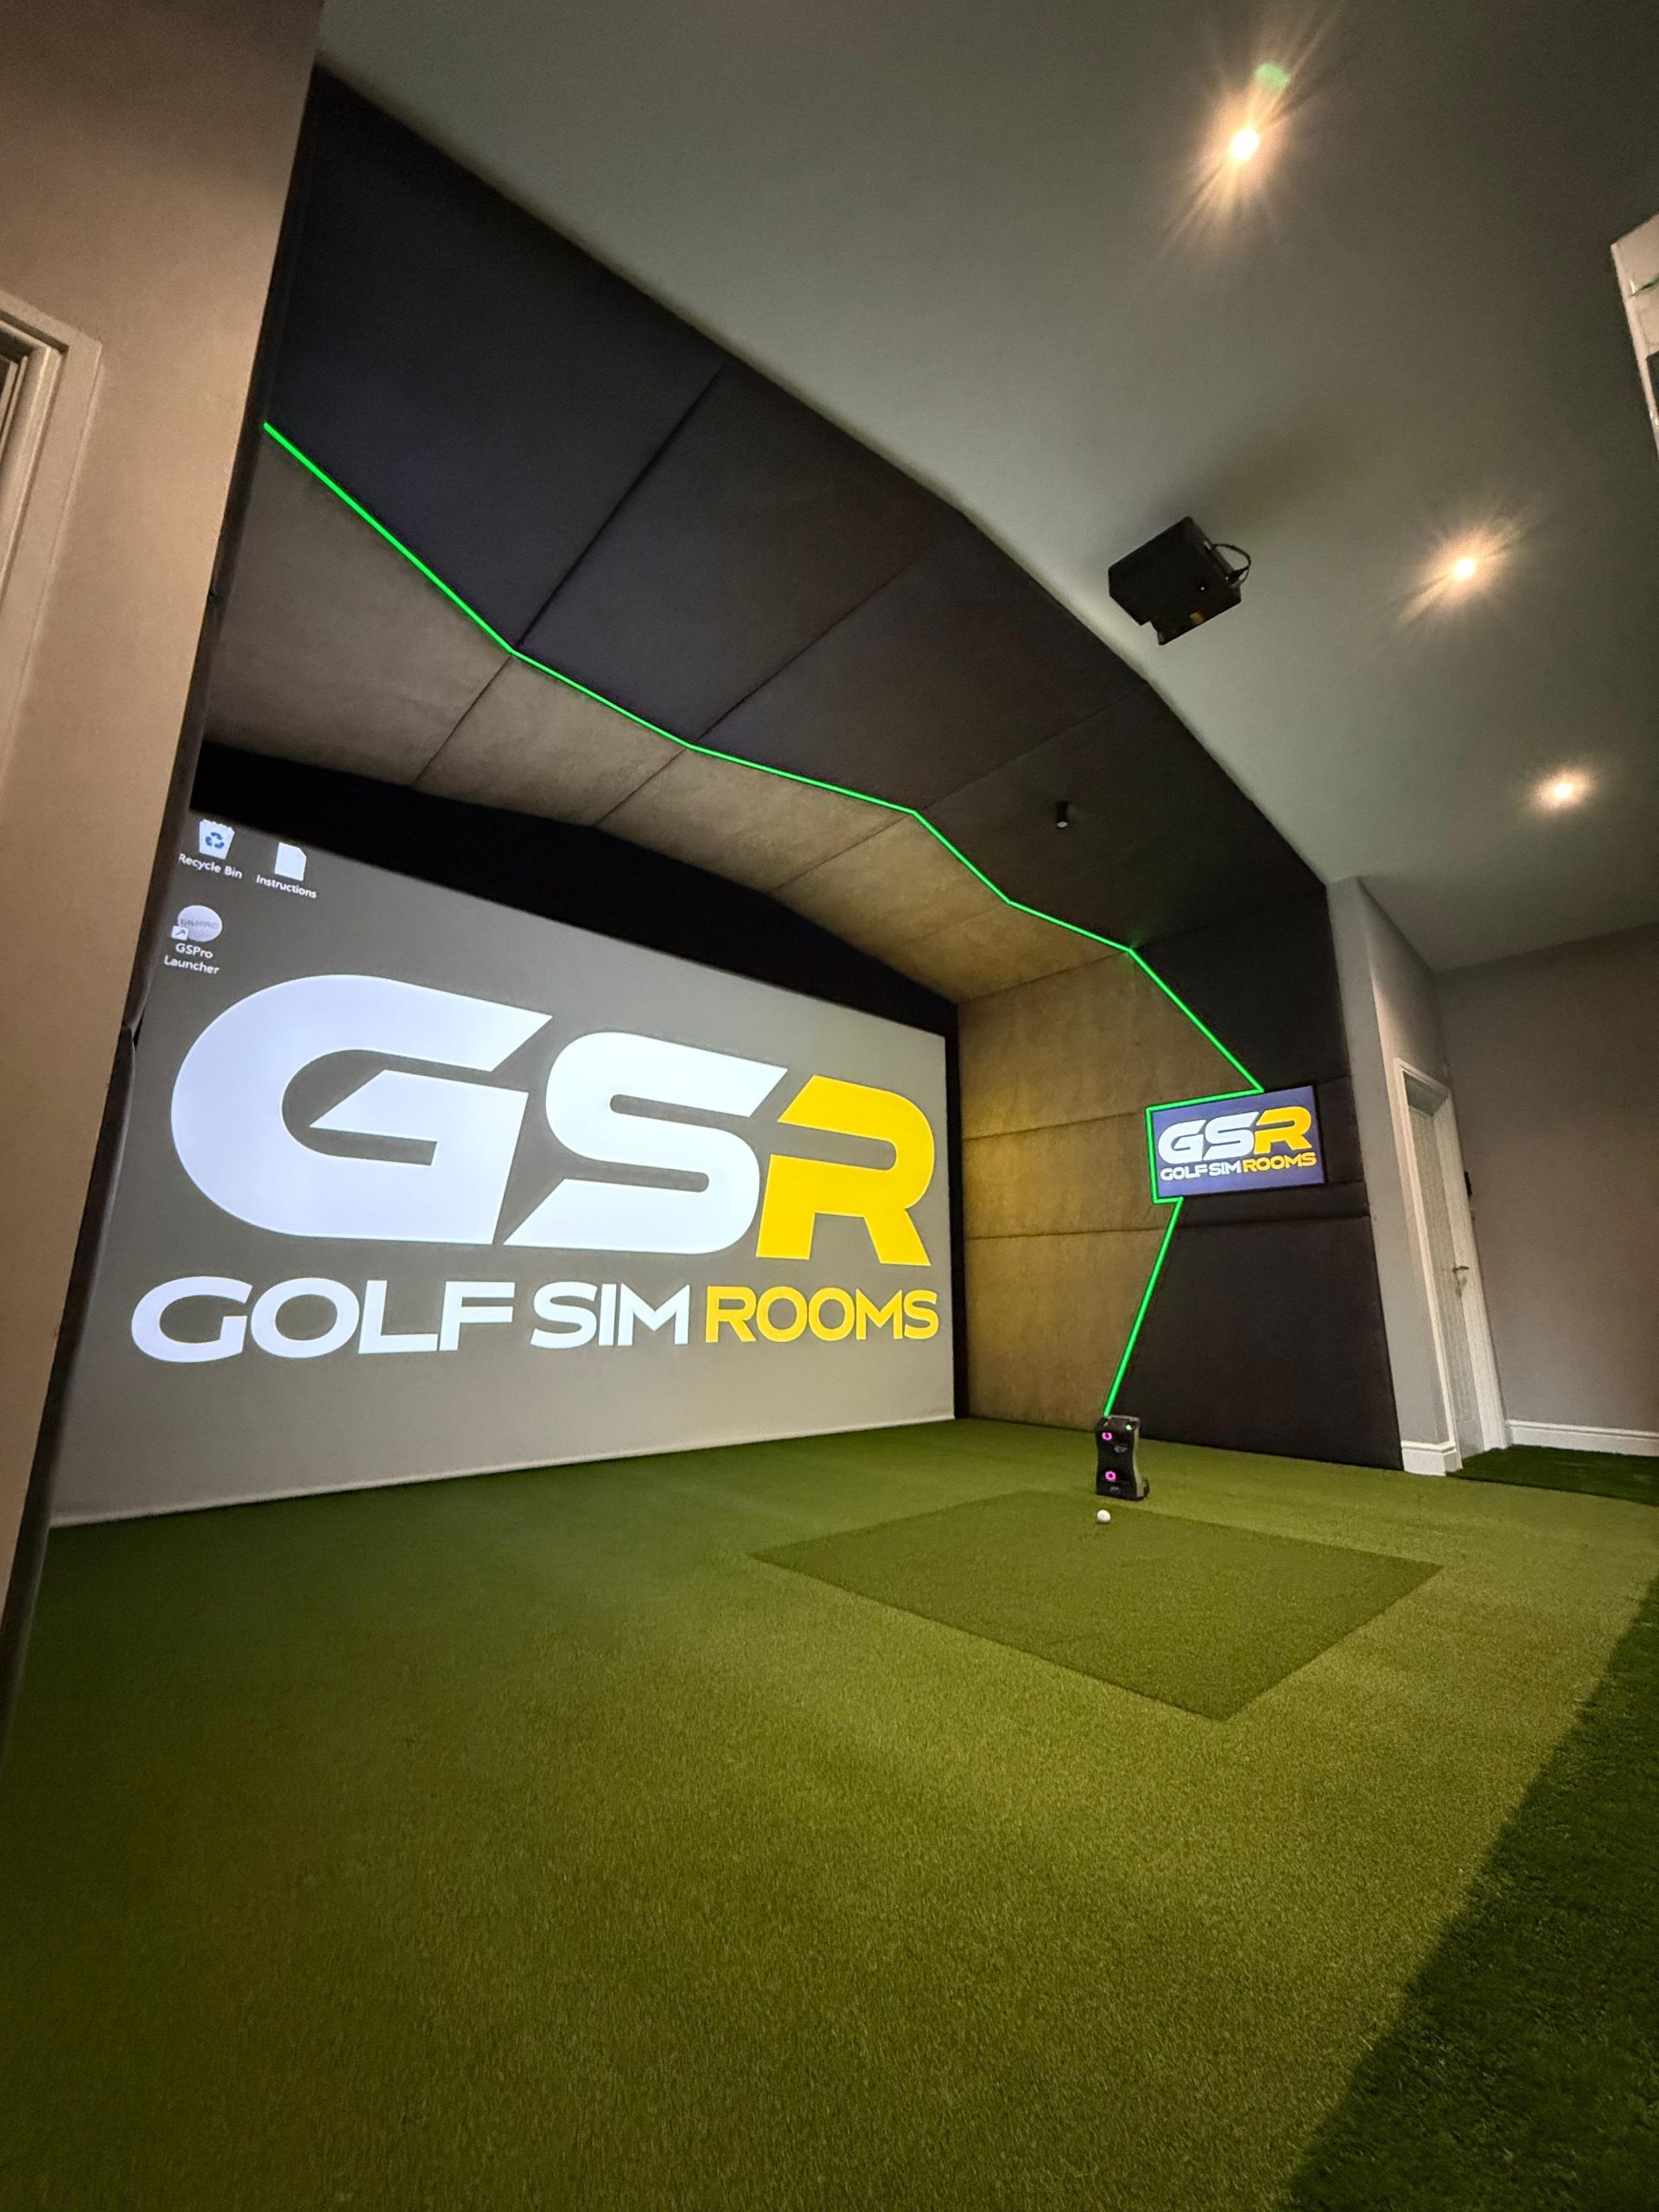
The impact screen is the surface the ball flies into and the image is projected onto. It is one of the most important physical components in the room and it takes a significant amount of punishment over time. A quality screen absorbs impact cleanly without excessive rebound or noise and holds a sharp projected image without hotspots or discolouration.
The frame that holds the screen in place is just as important as the screen itself. A poorly tensioned or flimsy frame will cause the screen to sag, move during play, or produce an uneven surface that affects both the image quality and the feel of impact.
A proper installation includes both the screen and the frame, fitted correctly for the dimensions of the room. The frame should be either wall-mounted or freestanding depending on the space, and the screen should be tensioned evenly across the full width and height. If a quote includes the screen but not the frame, or lists the frame as an optional extra, ask why.
The Hitting Mat
The hitting mat is what you stand on and strike from. It sounds straightforward but the quality range is wide and the difference between a good mat and a poor one is noticeable both underfoot and in how accurately the launch monitor reads shots.
A quality mat replicates the feel of hitting from turf closely enough that it does not interfere with your swing. It has enough give to absorb the club strike without jarring feedback through the shaft, and it is thick and stable enough that it does not shift during use.
Cheap mats tend to sit hard and flat, which can affect joint comfort over time and introduce inconsistencies in how the launch monitor captures the ball. In a home simulator room that is going to get regular use, the mat is not somewhere to cut corners.
A full installation should include a mat sized appropriately for the room and the launch monitor setup. The positioning of the mat relative to the screen and the launch monitor needs to be set correctly as part of the installation, not left to the customer to figure out afterwards.
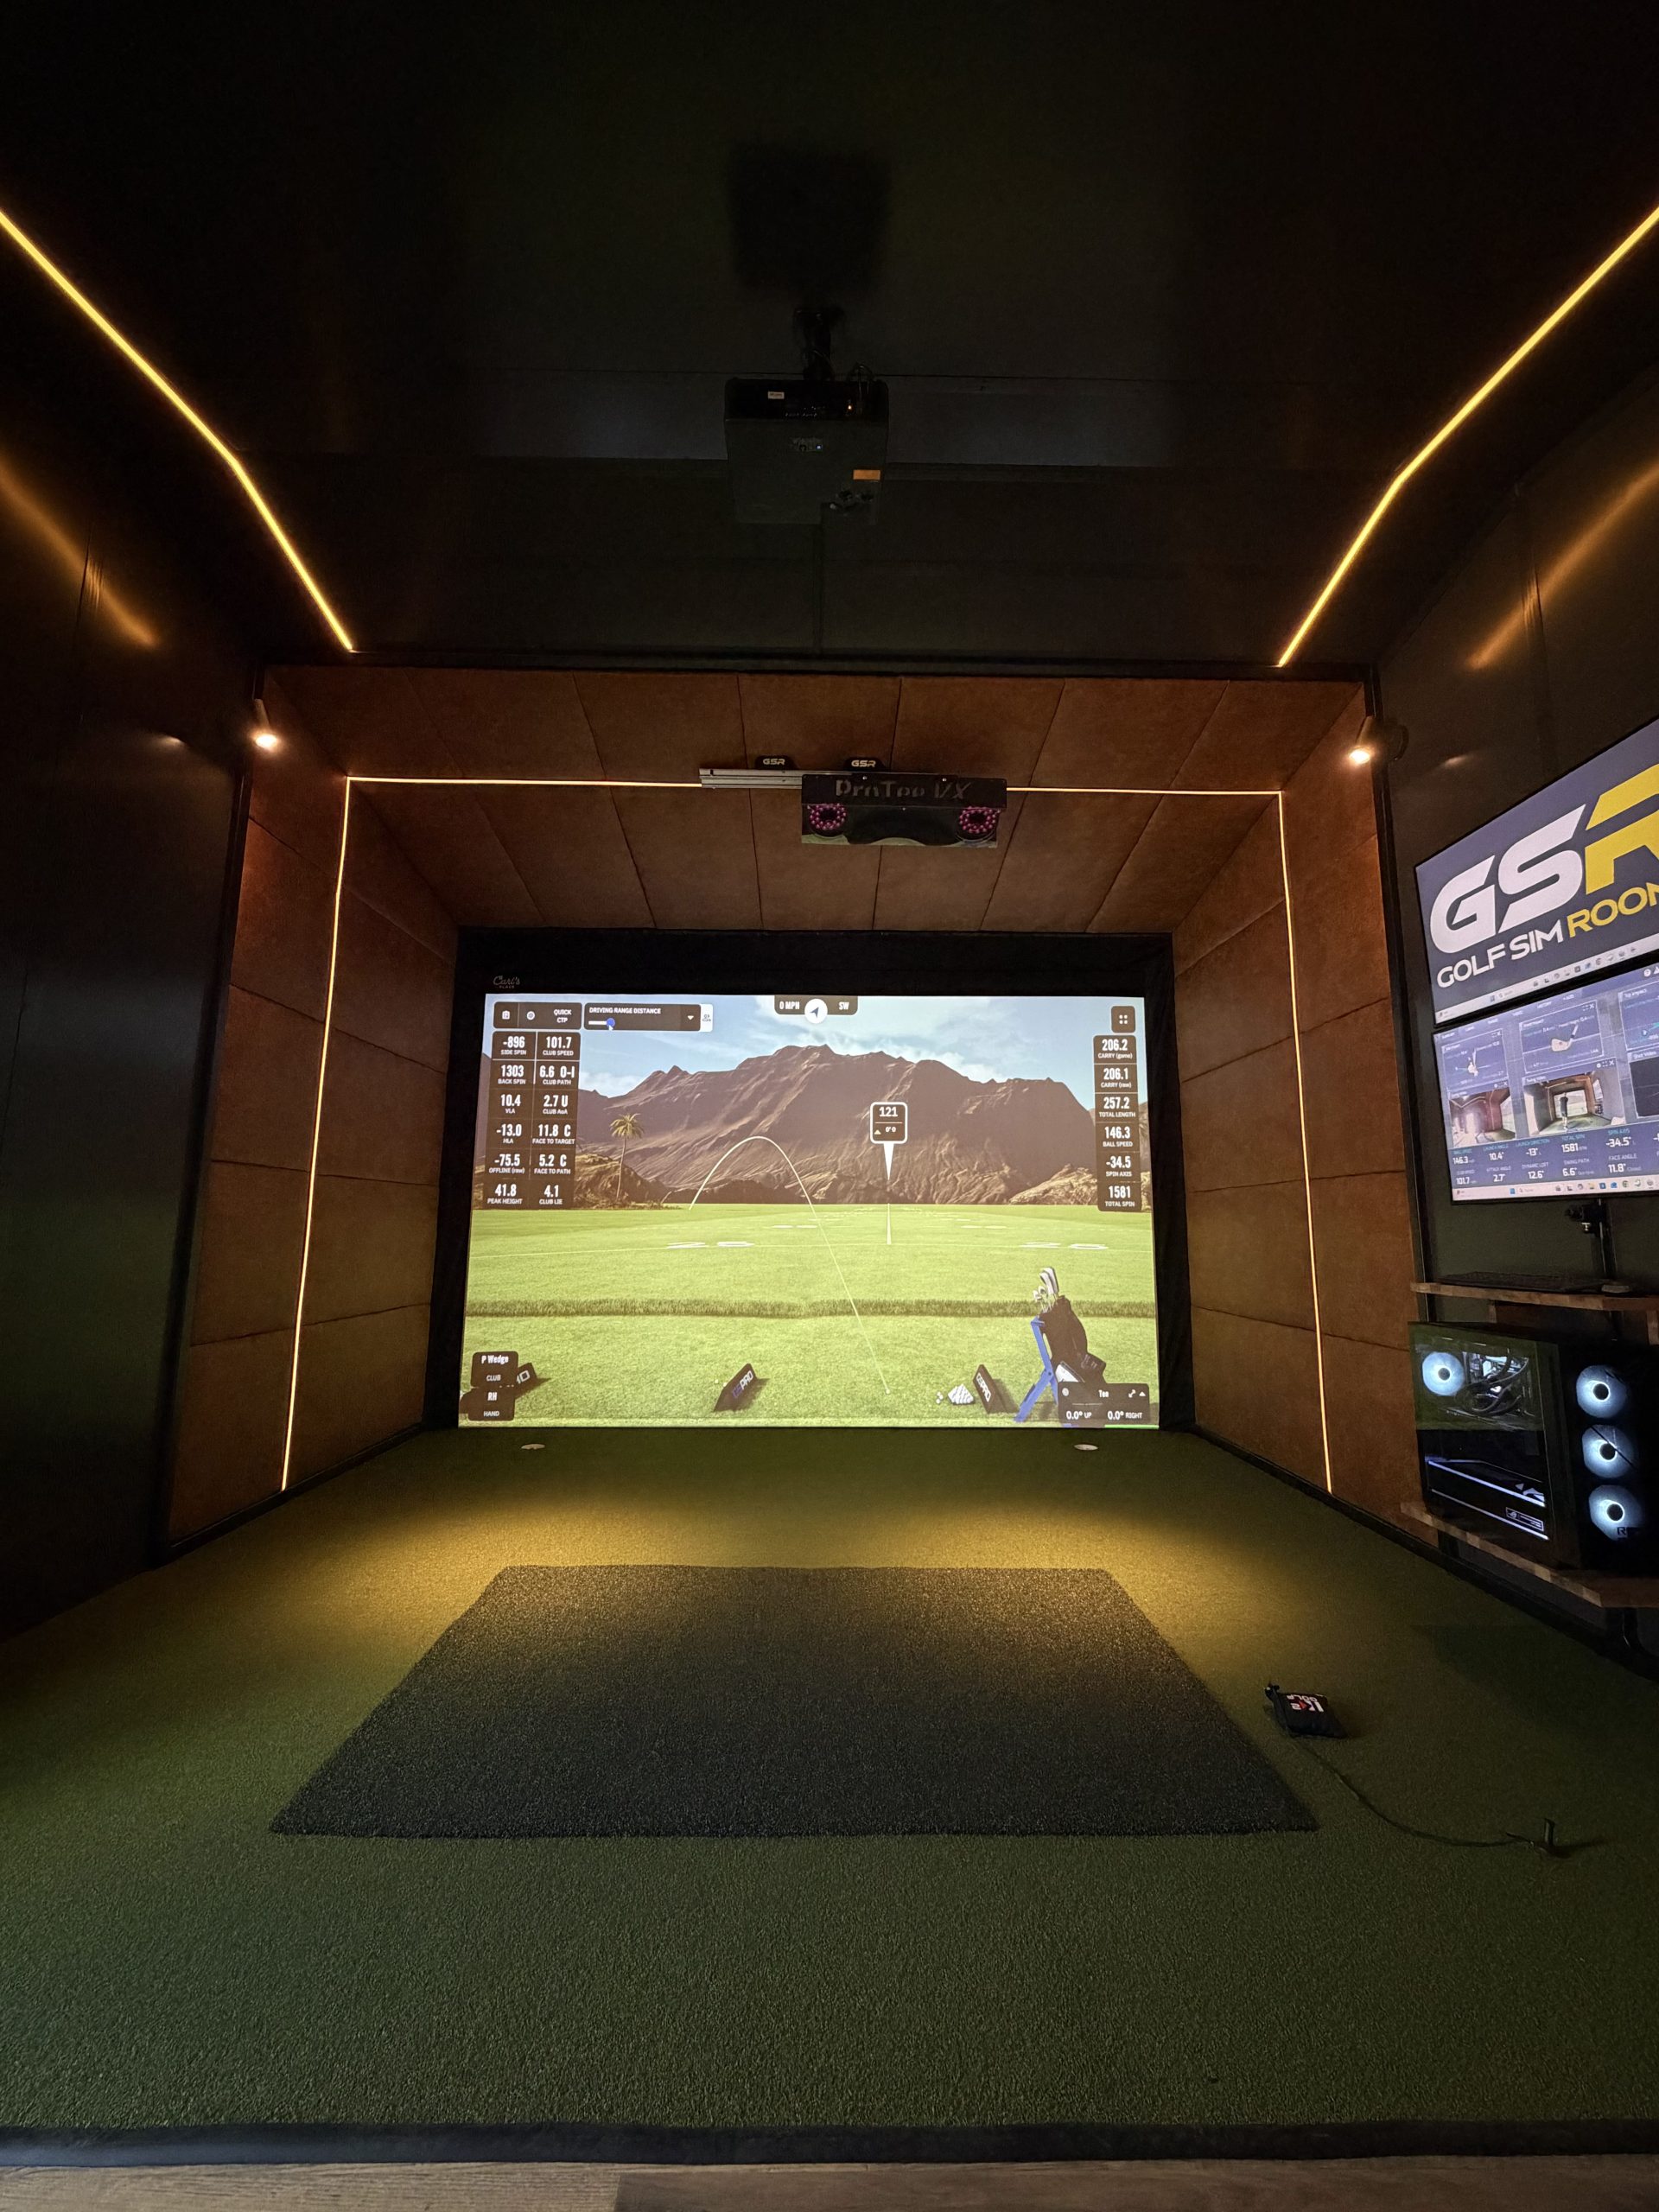
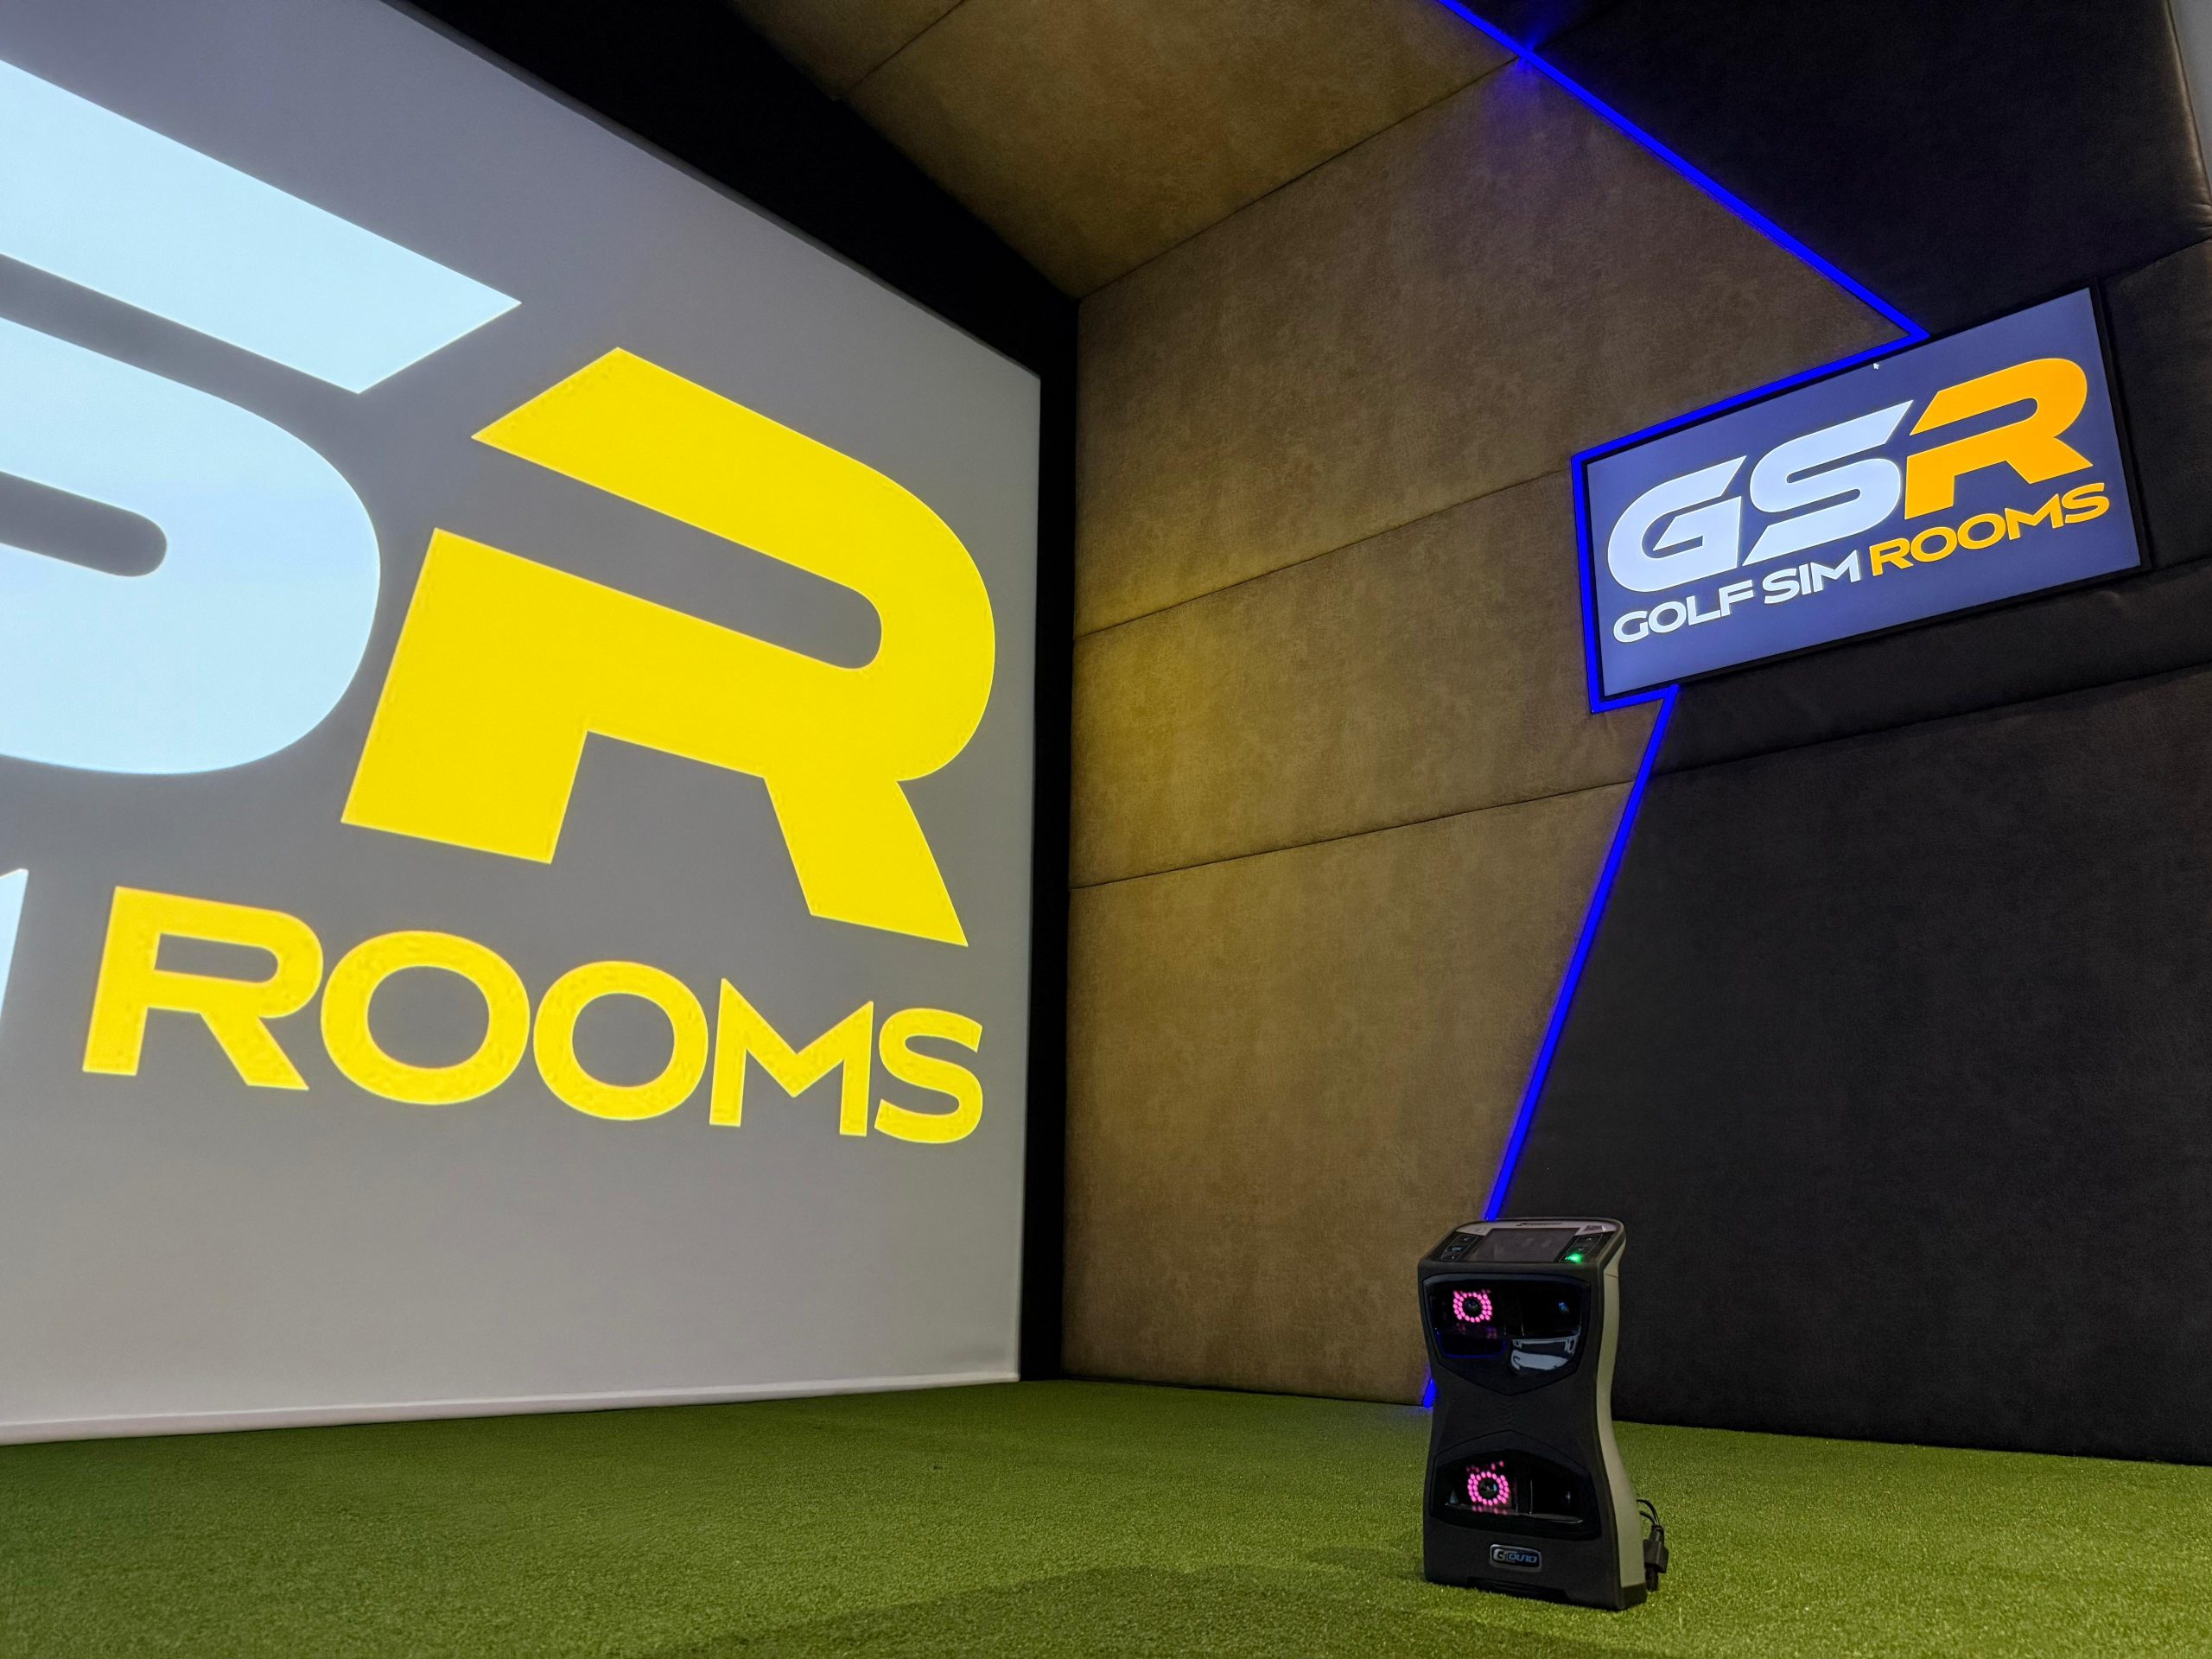
The Launch Monitor
The launch monitor is the technology that captures what the ball and club are doing at the moment of impact. It measures ball speed, launch angle, spin rate, carry distance, clubhead path, face angle, and more depending on the system. That data is what the simulator software uses to calculate and display the shot.
There are several well-regarded launch monitors used in residential installations. Camera-based systems such as SkyTrak and Uneekor sit behind or above the ball. Radar-based systems such as those from Foresight Sports typically sit to the side of the hitting position. Each has different placement requirements, different strengths in terms of data capture, and different price points.
A proper installation includes the launch monitor positioned and configured correctly for the specific room layout. Setup distances, angles, and calibration all affect accuracy. A launch monitor that is simply placed on a shelf without being properly configured is not performing at the level it is capable of.
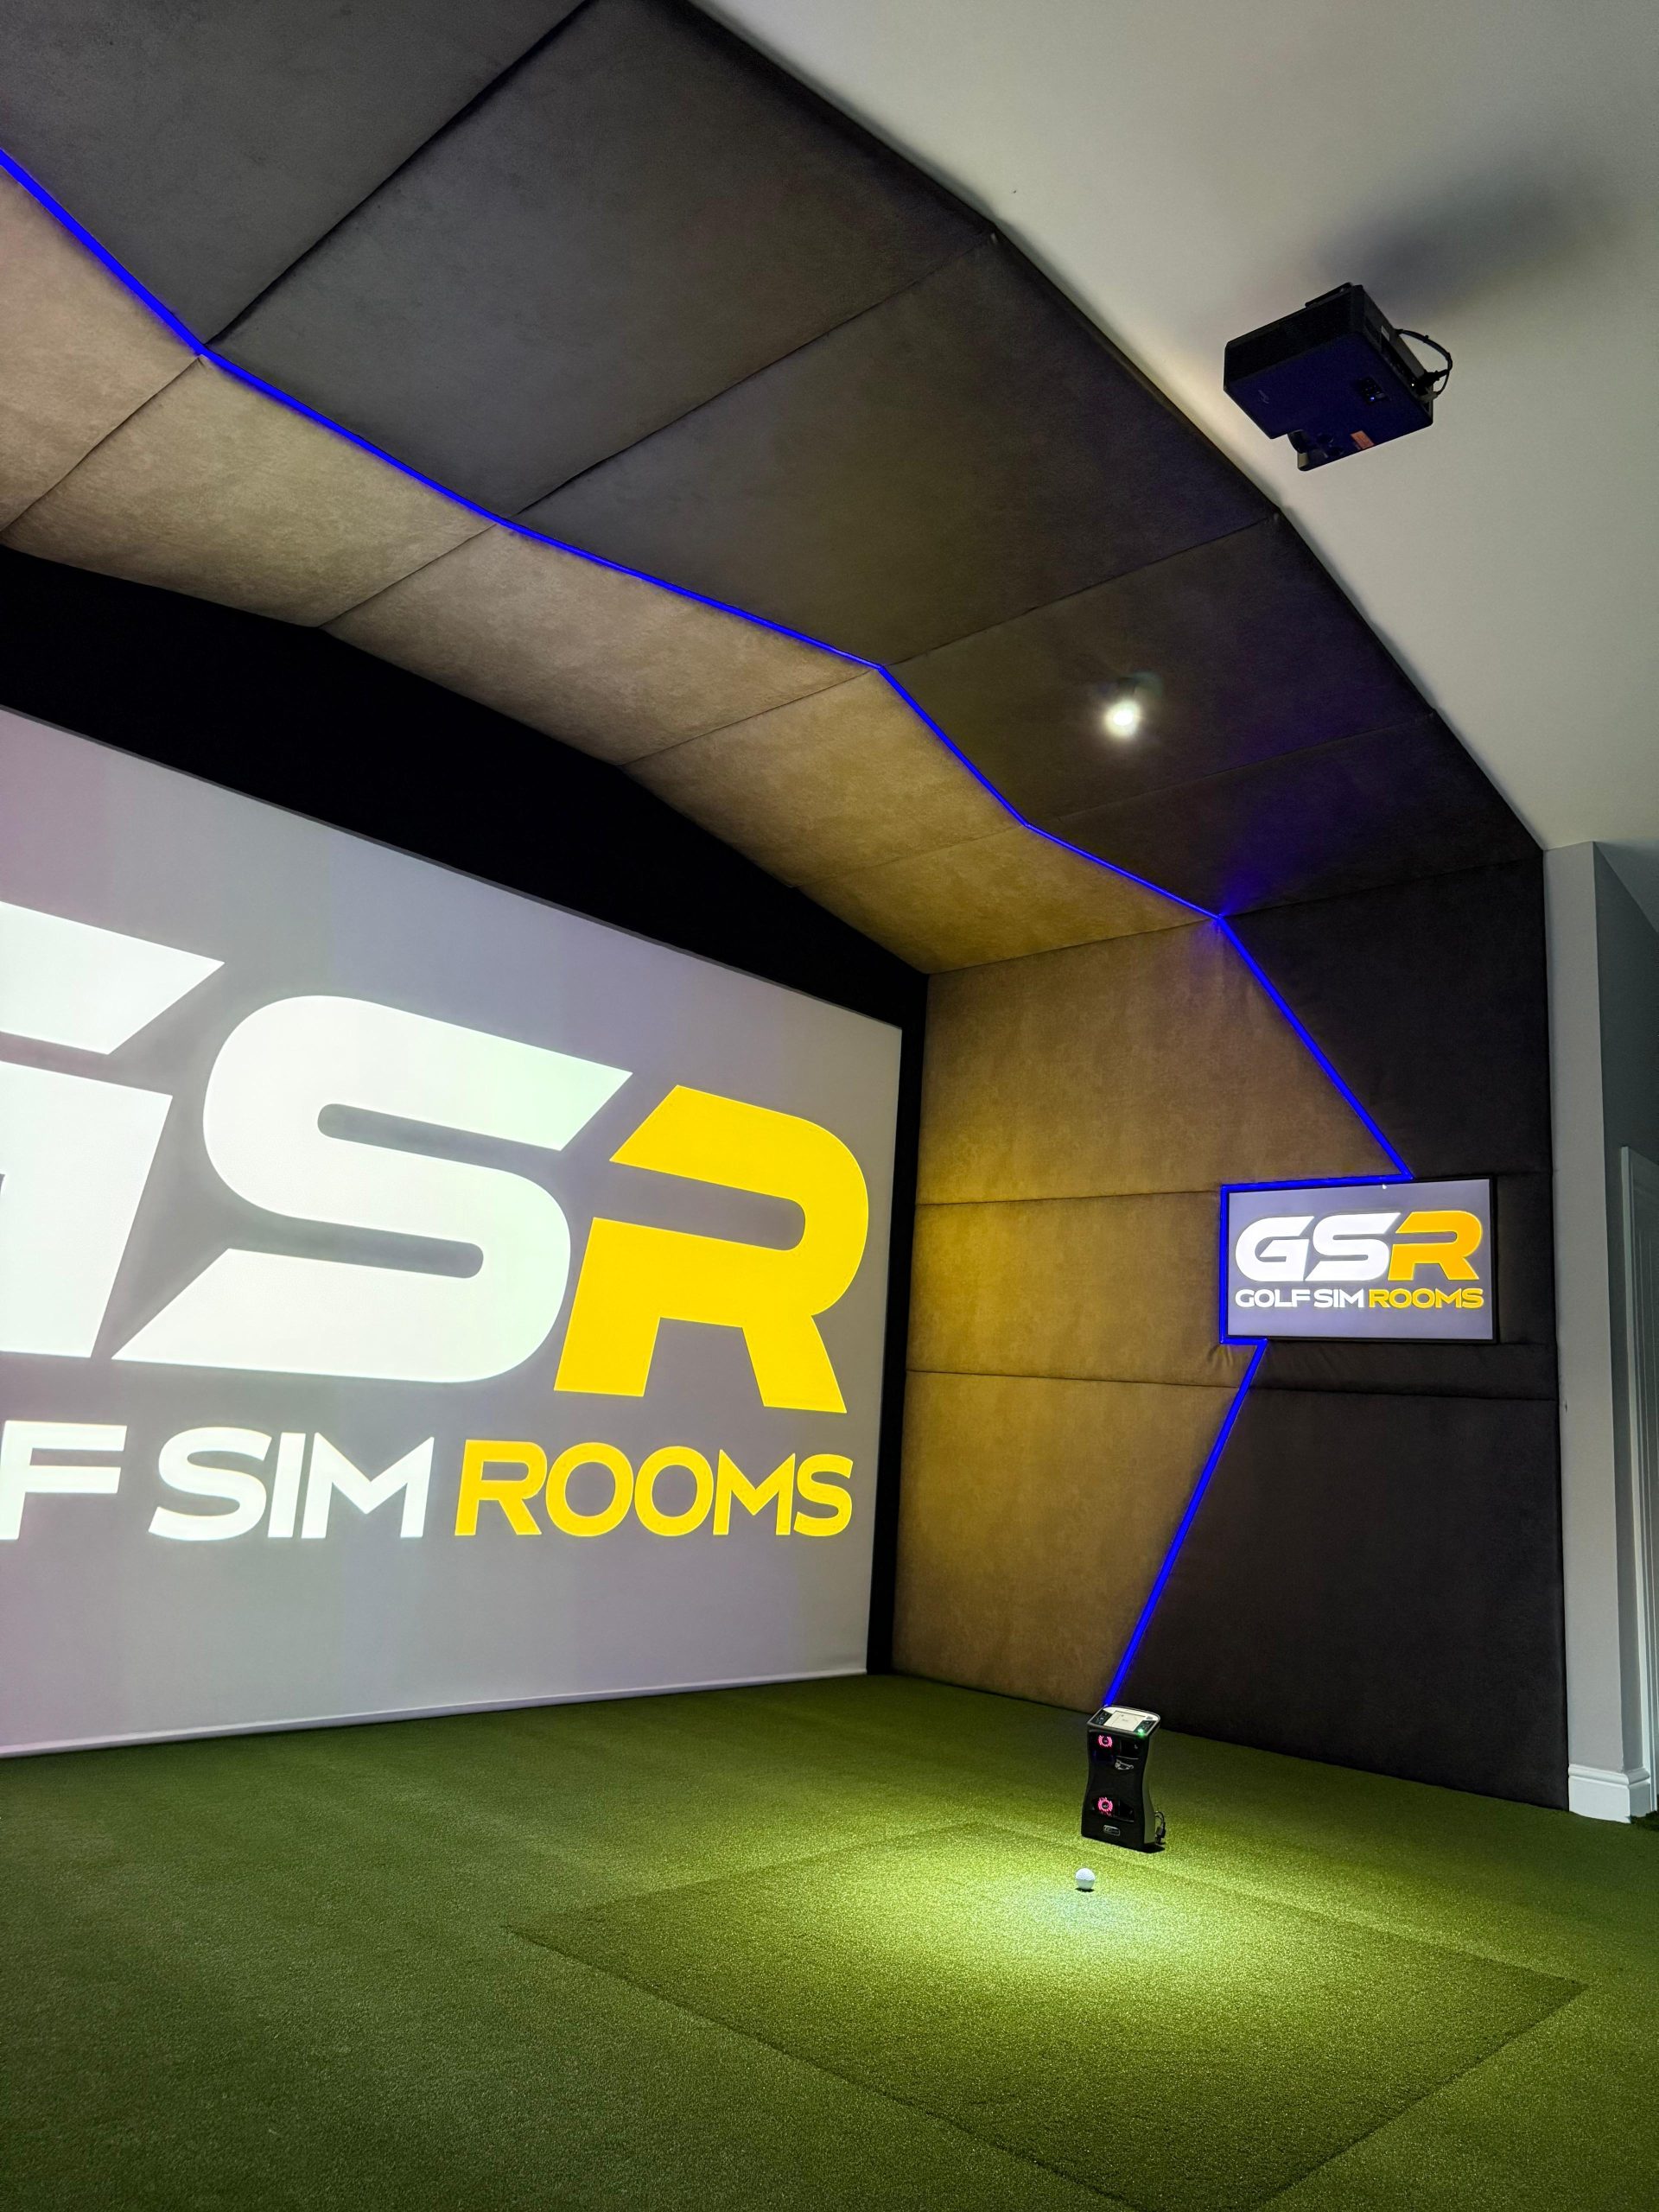
The Projector and Mounting
The projector throws the simulator image onto the screen. For most residential rooms, a short-throw or ultra-short-throw projector is used because it produces a large image from a relatively short distance, which suits the depth constraints of most UK rooms.
Projector mounting is part of the installation. A ceiling-mounted projector gives the cleanest result in terms of image geometry and keeps cables tidy. A shelf or bracket mount behind the golfer is an alternative where ceiling mounting is not possible, but it needs to be positioned correctly to avoid the golfer or their swing interrupting the projection beam.
Projector calibration is also part of a proper installation. The image needs to be aligned correctly with the screen, keystoned if necessary, and brightness and contrast settings adjusted for the specific room conditions. This is not something that should be left for the customer to sort out after the installer has left.
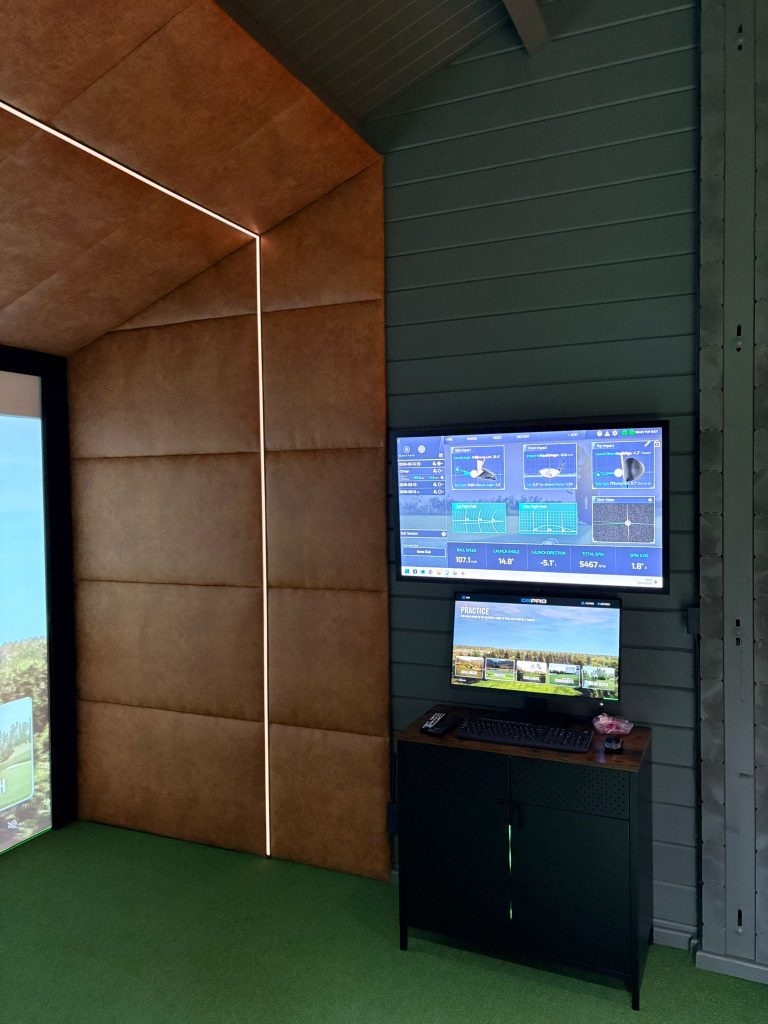
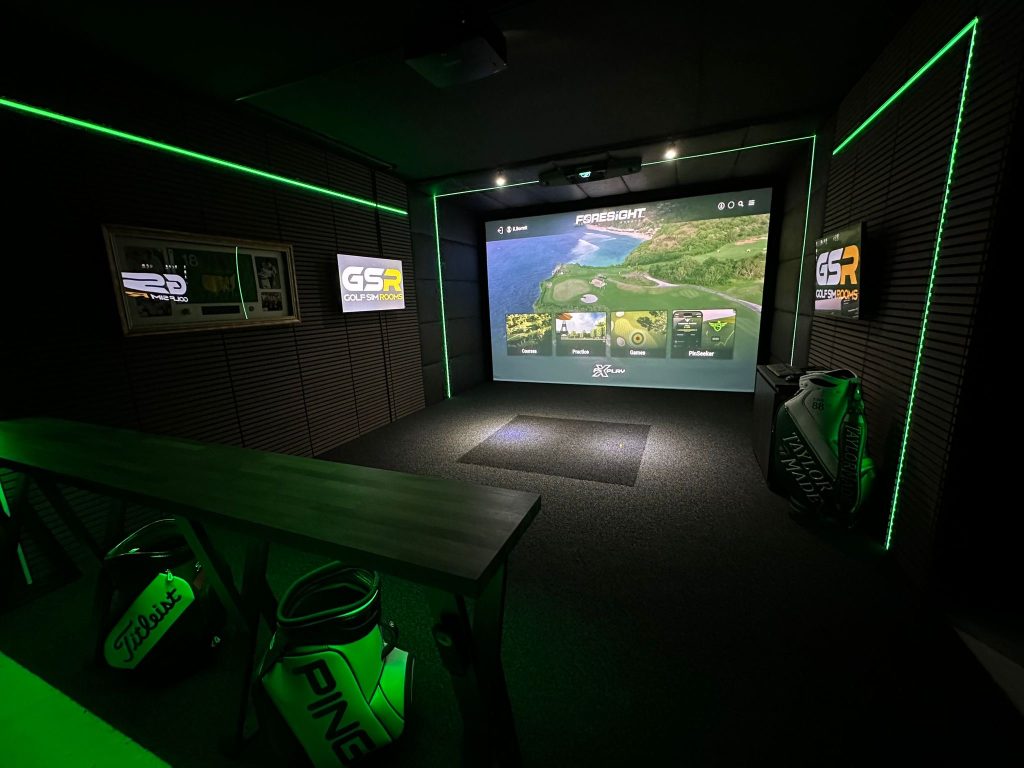
The Simulator Software
The software is what ties the room together from a playing perspective. It is what generates the courses, displays the shot data, runs the practice modes, and creates the experience of actually playing golf rather than just hitting balls at a screen.
Different software packages offer different course libraries, different levels of visual realism, and different practice and game modes. Some are one-off purchases. Others operate on an annual subscription. Some launch monitors are compatible with multiple software platforms. Others are locked to a specific package.
A full installation should include the software set up and ready to play on the day the installation is completed. That means accounts created, courses loaded, and the system tested end to end. Handing over login details and leaving the customer to figure out the rest is not a finished installation.
It is also worth confirming at the time of installation what the ongoing software costs look like and whether updates are included in any subscription or charged separately.
Cabling and Cable Management
This is an area that separates a tidy, professional installation from one that looks improvised. A golf simulator room involves power cables, HDMI or display cables, USB connections between the launch monitor and the computer, and potentially network cables depending on the setup.
Visible cables running across the floor or dangling from the ceiling are both a trip hazard and an indication that the installation was not finished properly. A professional installation includes cable management as standard, whether that means trunking along skirting and walls, ceiling channels, or routing cables through the structure where possible.
Ask specifically about cable management before booking. If it is not mentioned in the quote or the installer seems vague about it, push for clarity.
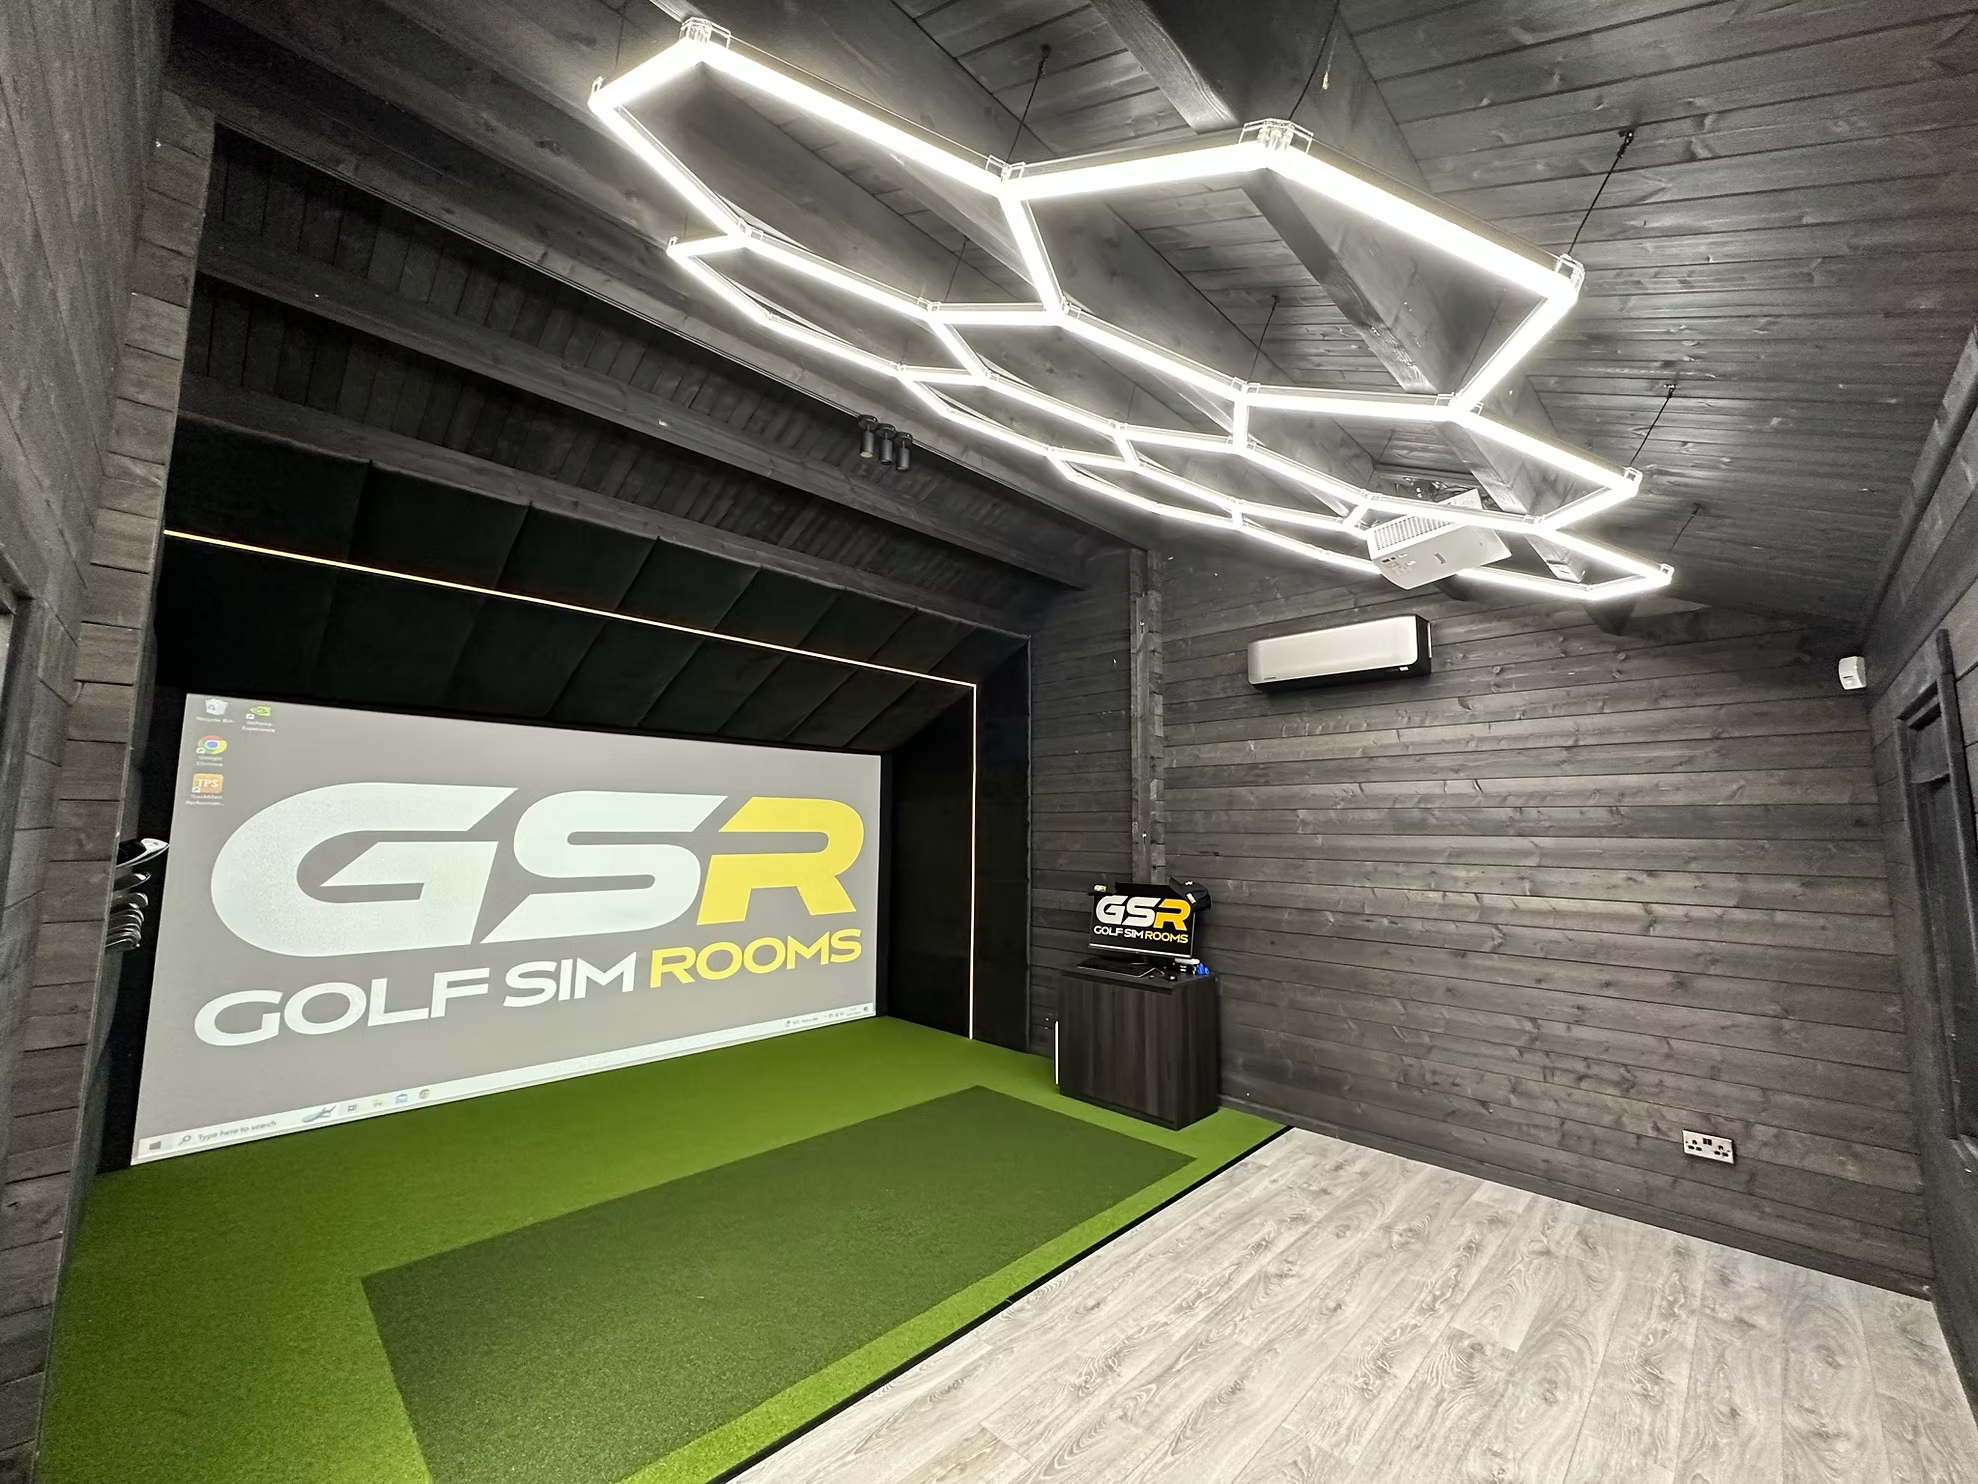
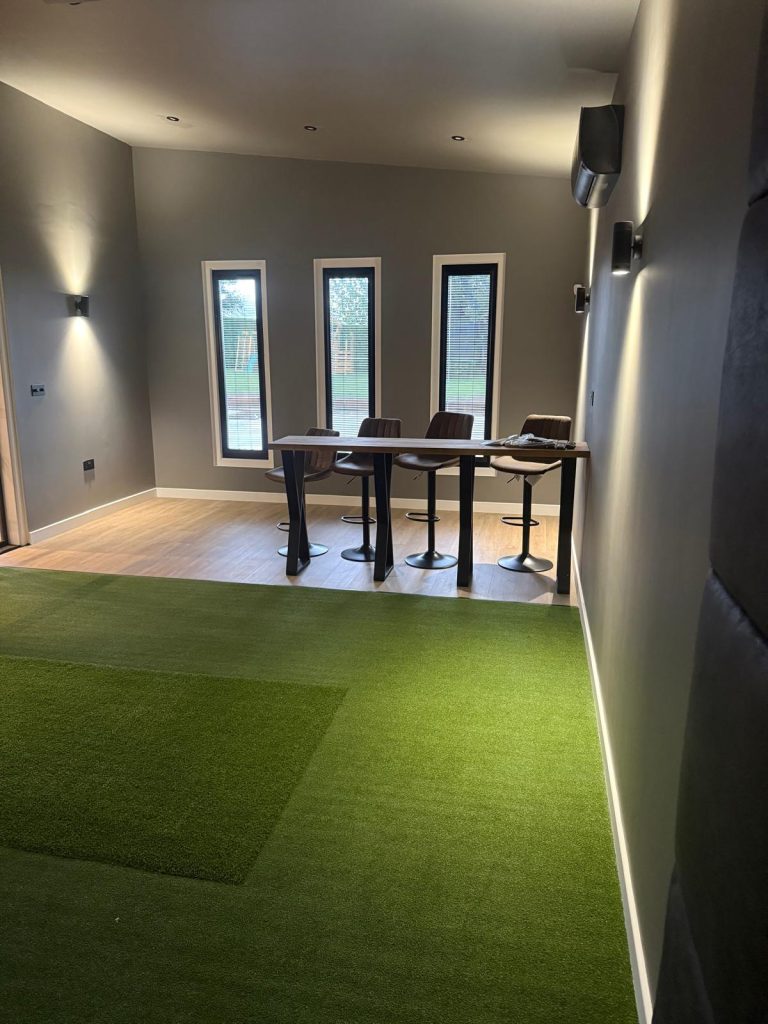
Lighting
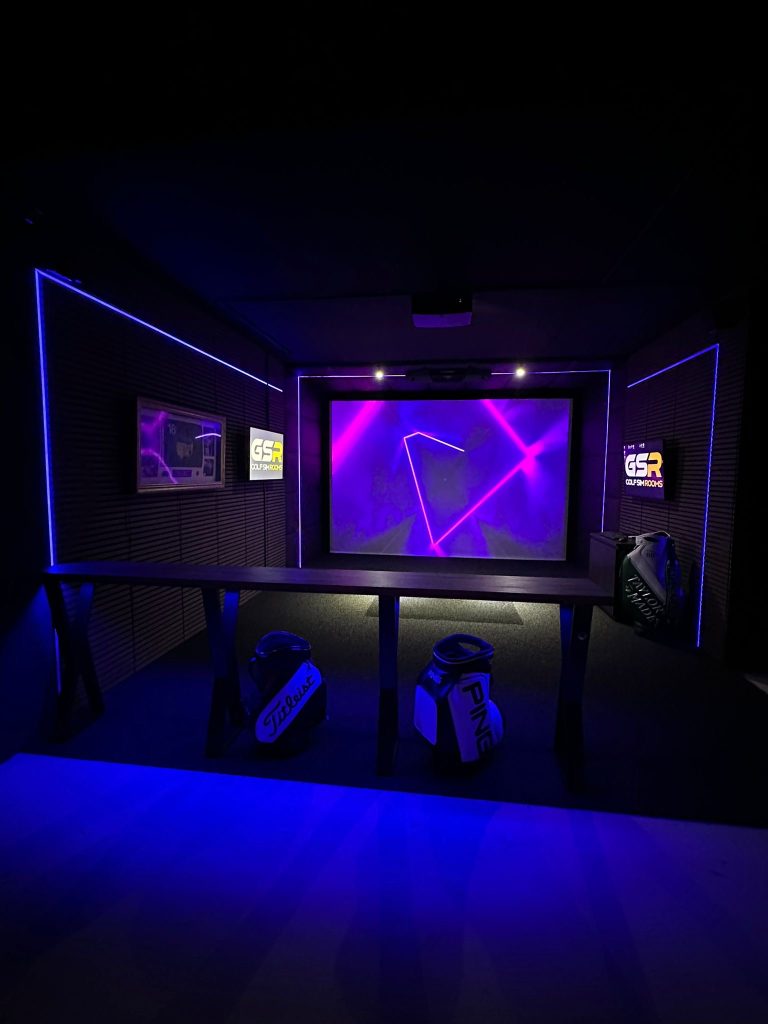
Lighting is frequently overlooked until after the installation and then becomes an immediate problem. Bright overhead lighting pointed toward the screen creates glare that washes out the projected image and makes the playing experience significantly worse than it should be.
A good installation either includes appropriate lighting as part of the fit out or provides clear, specific guidance on what needs to change before the equipment goes in. Ideally, the room is lit from behind the golfer rather than above the screen, using dimmable LEDs that can be adjusted depending on conditions.
If an installer does not raise lighting as part of the installation conversation, raise it yourself. It is too important to leave until the room is otherwise finished. We always take care of the lighting 😉.
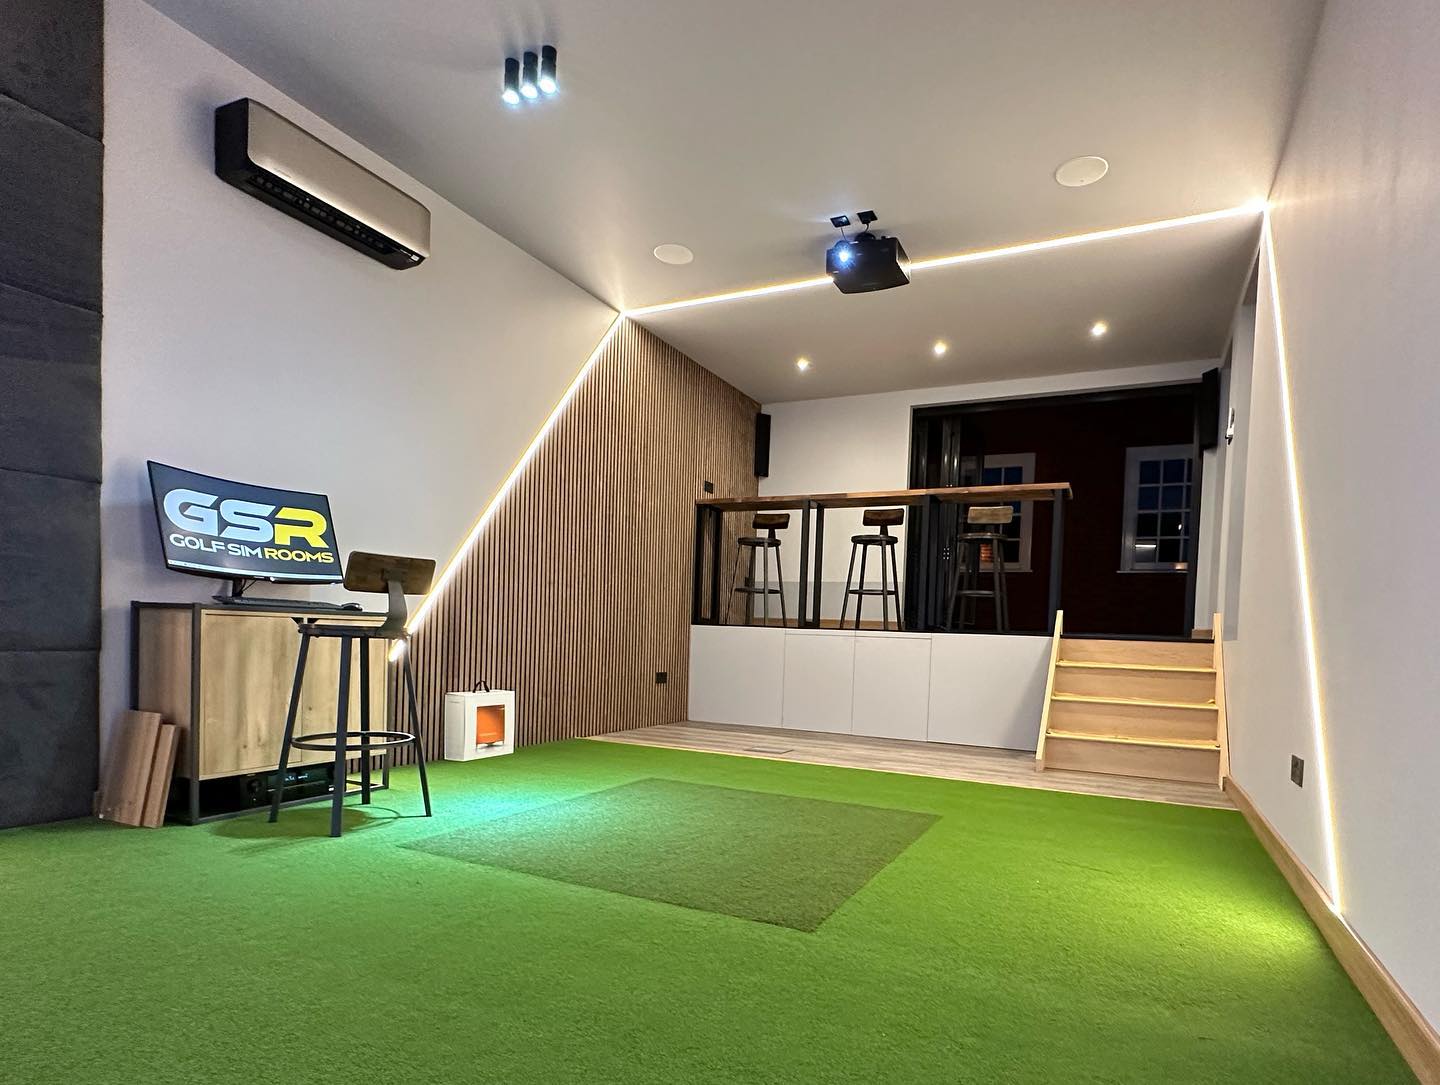
Heating
A golf simulator room that is not properly heated is a room that does not get used through winter. In a UK context, this means most of the year for anyone with a garage or outbuilding setup.
Heating is not always included in an installation quote, but it should at minimum be discussed and planned for. A wall-mounted electric panel heater or infrared heater works well for most simulator rooms. The right solution depends on the size of the space and how well insulated it is.
If heating is not part of your installation quote, make sure you have a plan for it before the room is finished. Coming back to sort it out later means disruption to a room that is already set up and running.
System Testing and Handover
A finished installation is one where everything has been tested end to end before the installer leaves. That means a ball has been hit, the launch monitor has captured the data, the software has displayed the shot on the correct course, and the customer has had the system walked through with them so they understand how to use it.
A handover that consists of showing someone where the power switch is and leaving them with a manual is not good enough. The system should be demonstrated fully, any questions answered, and the customer left in a position where they can use the room confidently from that first evening.
Aftercare and Warranty
What happens after the installation is complete is as important as what happens during it. Technology develops faults. Calibration can shift over time. Software updates occasionally introduce issues that need resolving.
A proper installation comes with clear aftercare arrangements. That means a warranty on the installation work itself, clarity on how manufacturer warranties on individual components are handled, and a straightforward way to get in touch if something goes wrong.
Ask before you book how aftercare is handled and what the response time looks like for issues that come up after the installation is complete. A company that is confident in its work will have a clear answer.
Conclusion
A golf simulator installation covers significantly more than the equipment itself. The screen, frame, mat, launch monitor, projector, software, cabling, lighting, heating, and aftercare all form part of what the finished room needs to work properly. Understanding what is and is not included in any quote before you commit is the single best way to avoid the most common and costly installation problems.
Golf Simulator Rooms handles full installations across the UK, covering everything from log cabin builds to garage fit outs and garden room setups. If you want to understand exactly what is included in a proper installation for your space, get in touch and one of our team will walk you through it.